For a long time, I have always chosen the thinnest paper for my models. But now, I realize that folding thick paper is really great.
This is a story about the process of how I fold an origami model, from scratch.
A new request
Do you know this model?
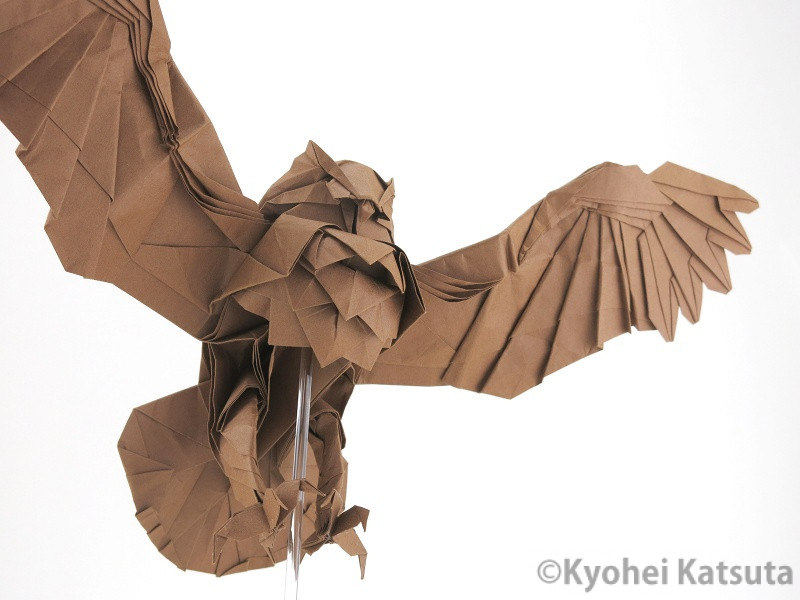

This is the Owl designed by Katsuta Kyohei , the model my friend asked me to give her on her last birthday.
This year, she had a new request: Maneki Neko, or simply called the lucky cat.
At first, I thought: why didn’t she ask me to fold a dragon? My favorite topic! =))) But it’s okay, there is no problem here. I have folded many cat before.
The idea
After researching on the Internet, most of the designs I found were 2D, which definitely wouldn’t capture the spirit I wanted. As a result, I decided I had to create my own cat—something 3D, unique, and more expressive.
However, I had been busy for a while and I left the idea aside until I realized the deadline was coming-only one week left before her birthday! I had to start the project right away.
Yeah, the idea to create my own lucky cat was collasped. Haizz!!! But I also want to create a cat which will present how I think about a lucky cat.
Another approach is: Modify an old model to create a new representation. I was quite confidence about this method, I have used it in many models before.
Okay, let's start.
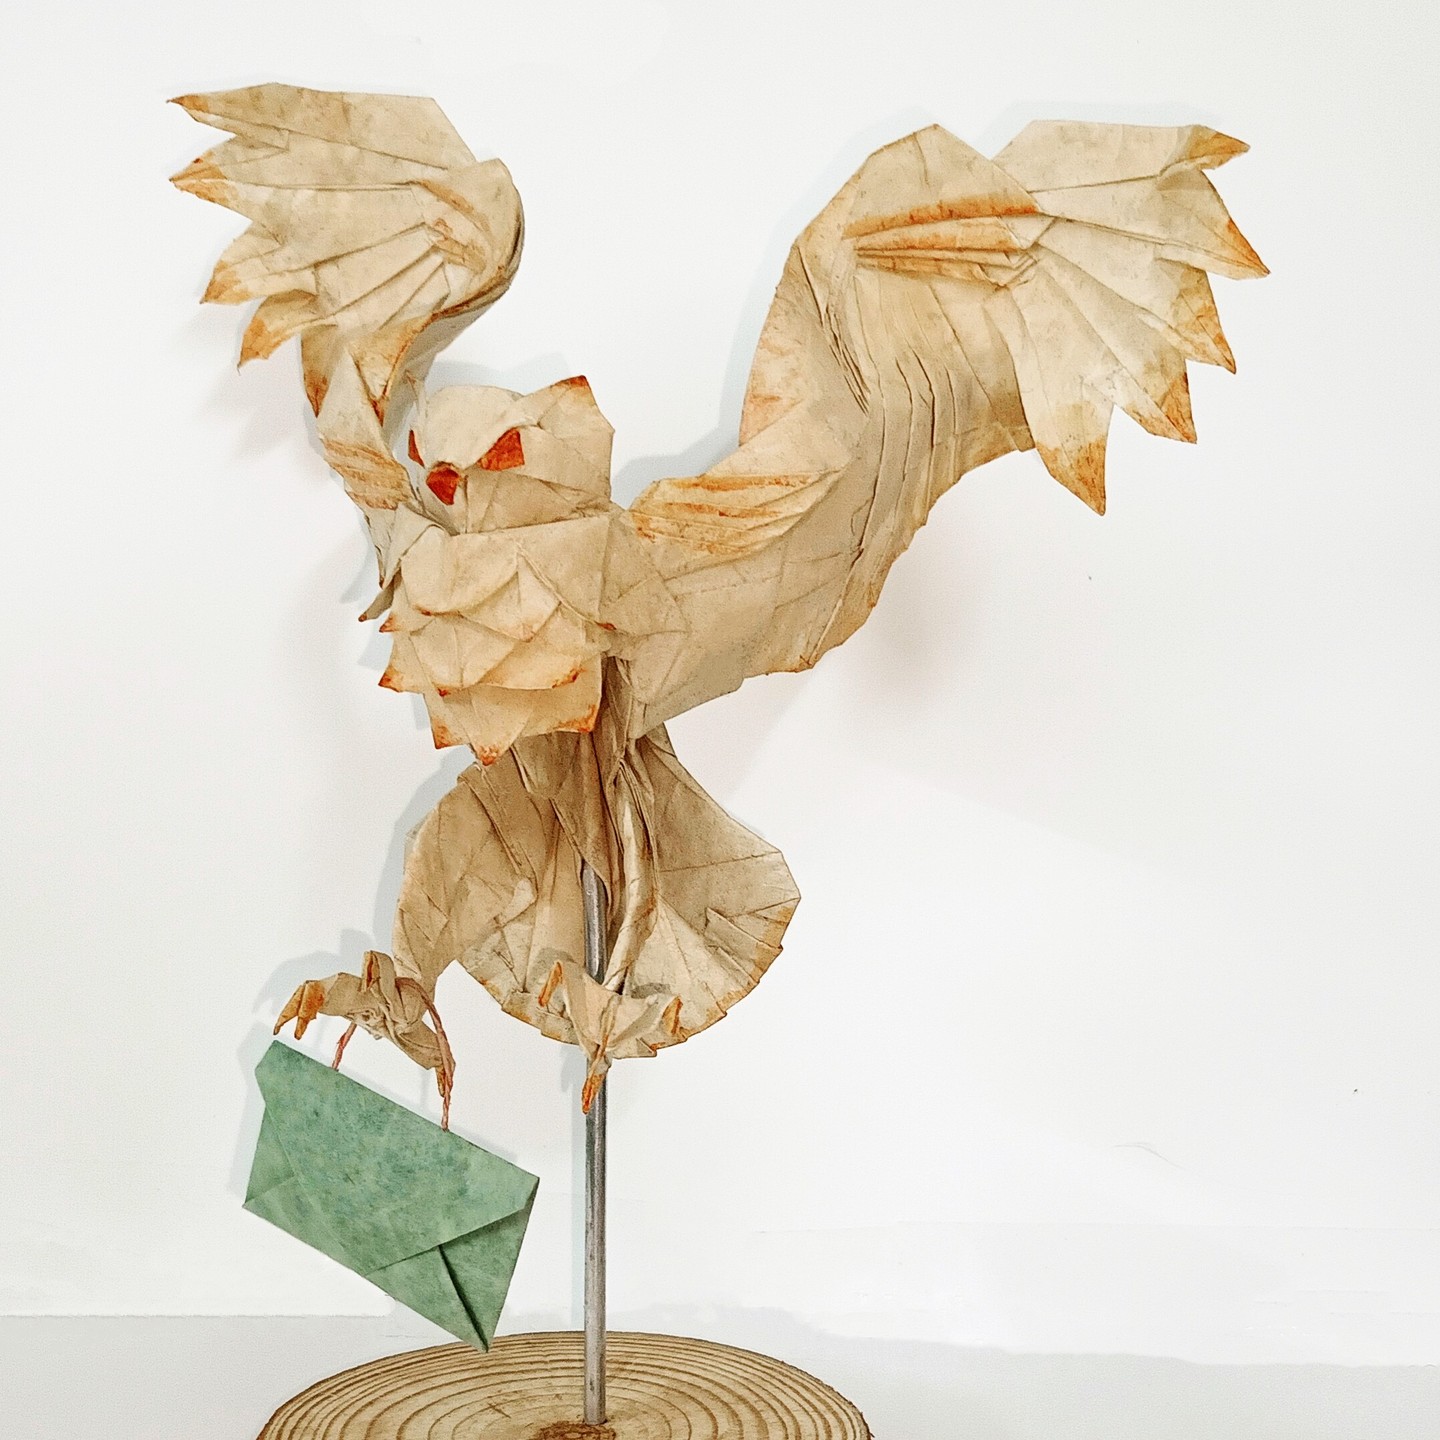
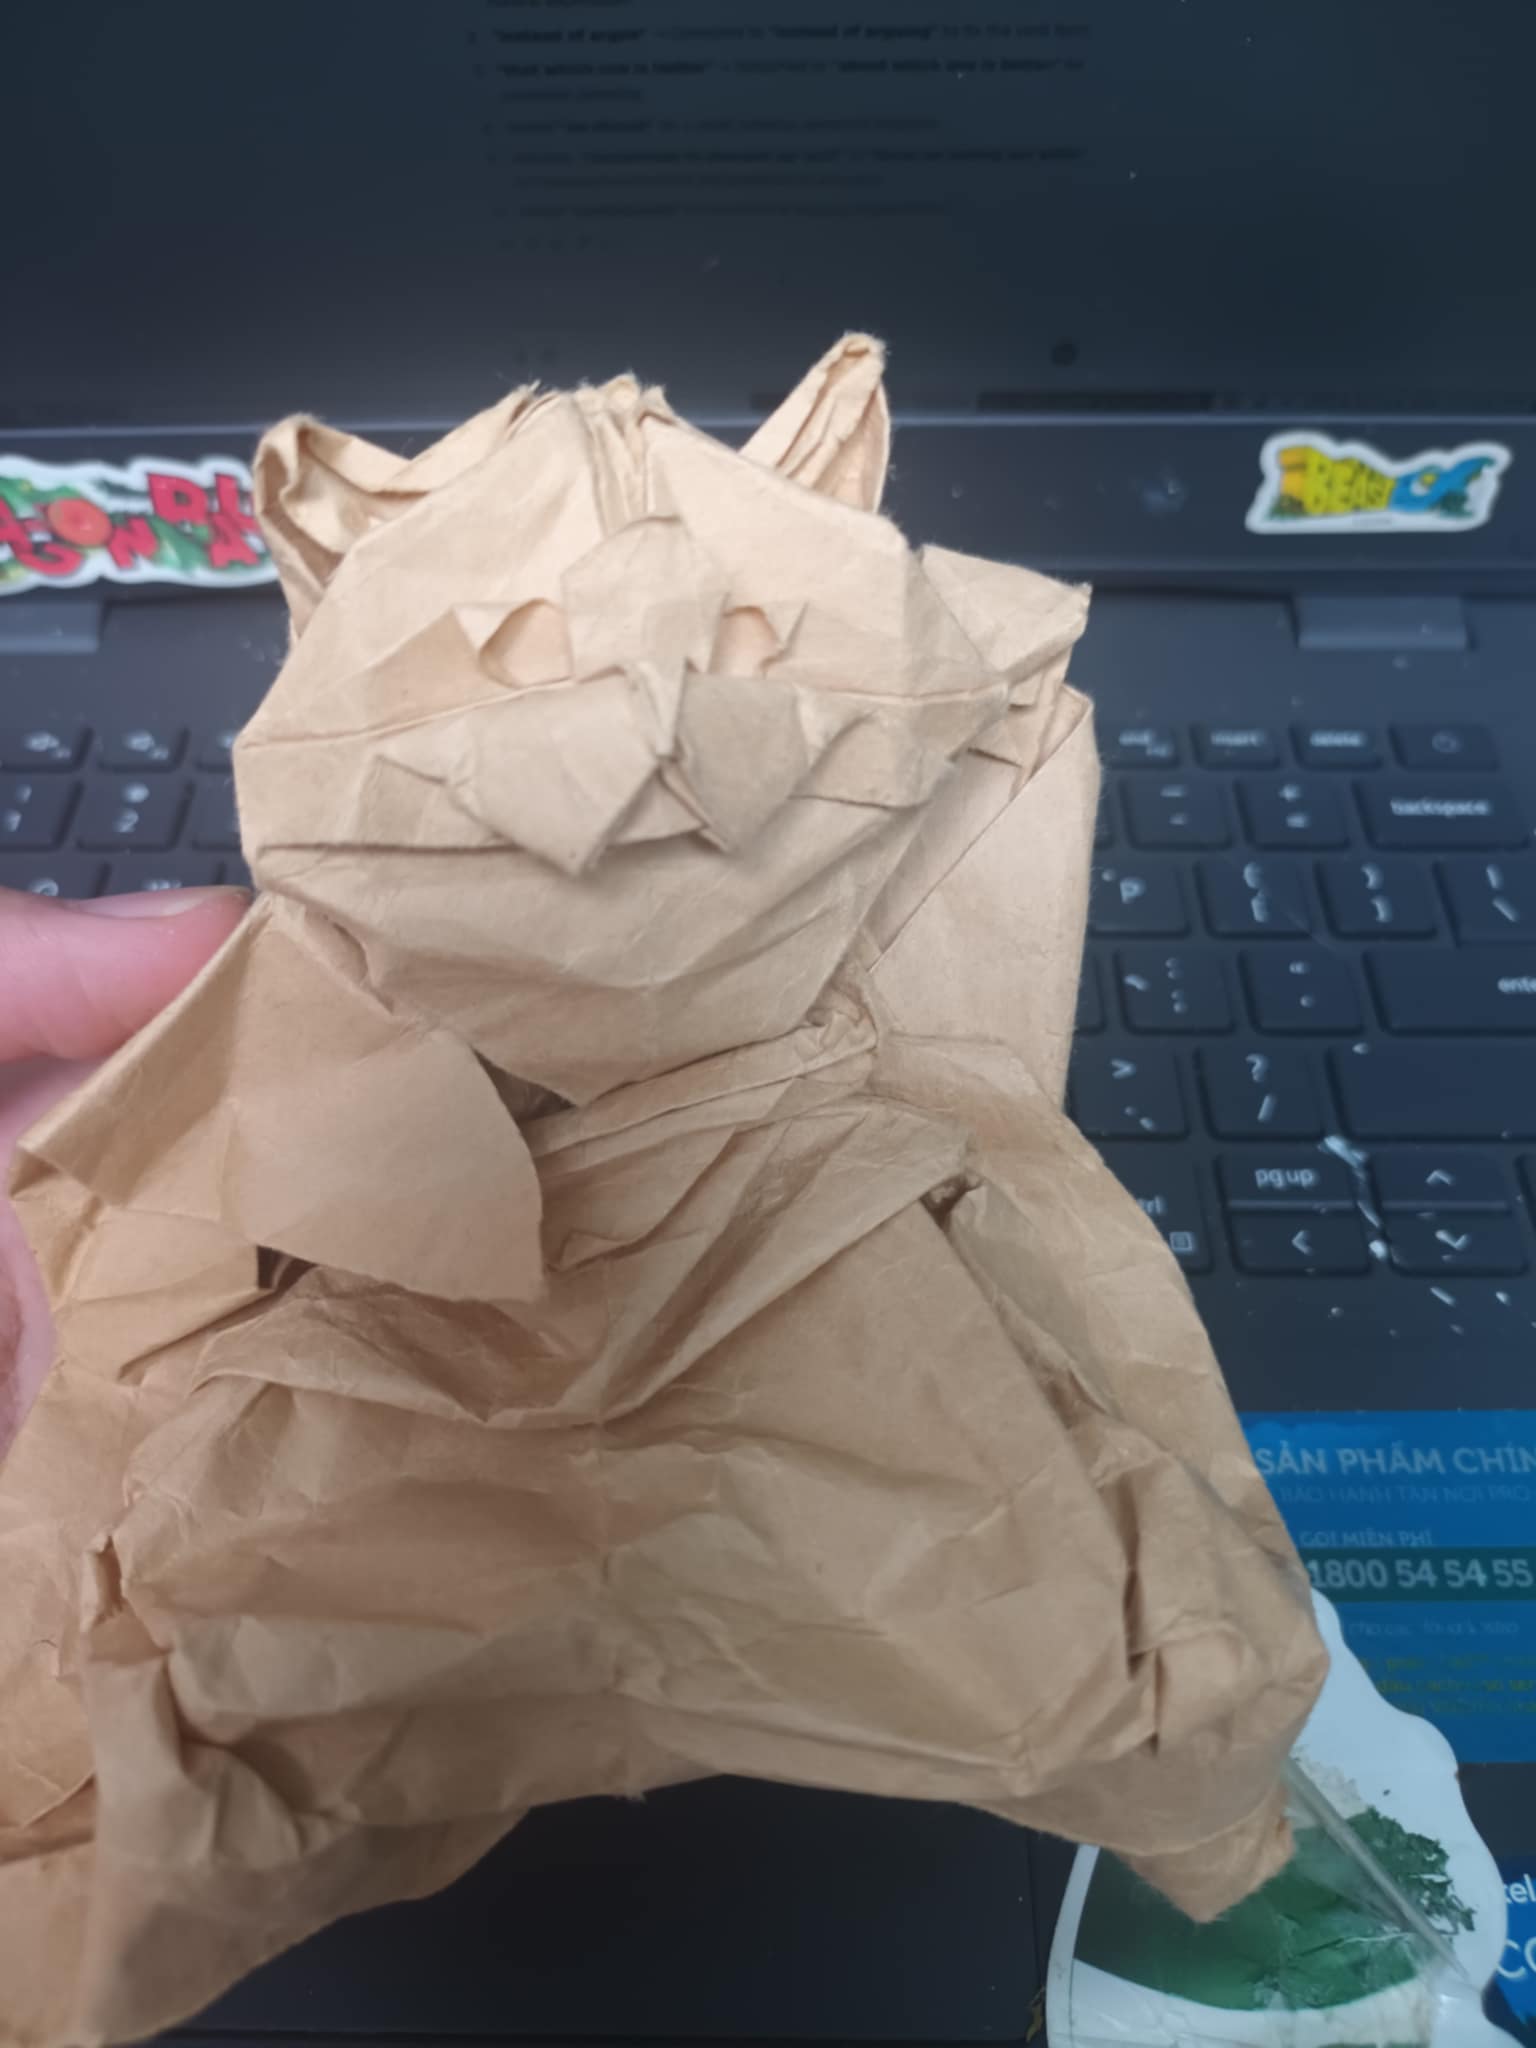
The hardest part of this model was the head. I wanted a 3D-shaped head that was expressive enough to present the emotion of a lucky cat. I immediately thought about Katsuta Kyohei’s models. He has folded many cats, so I investigated some of them.
About Katsuta Kyohei
A little about Katsuta: he is a great designer known for color-change models made from multiple sheets of paper. You can visit his Instagram and his Website
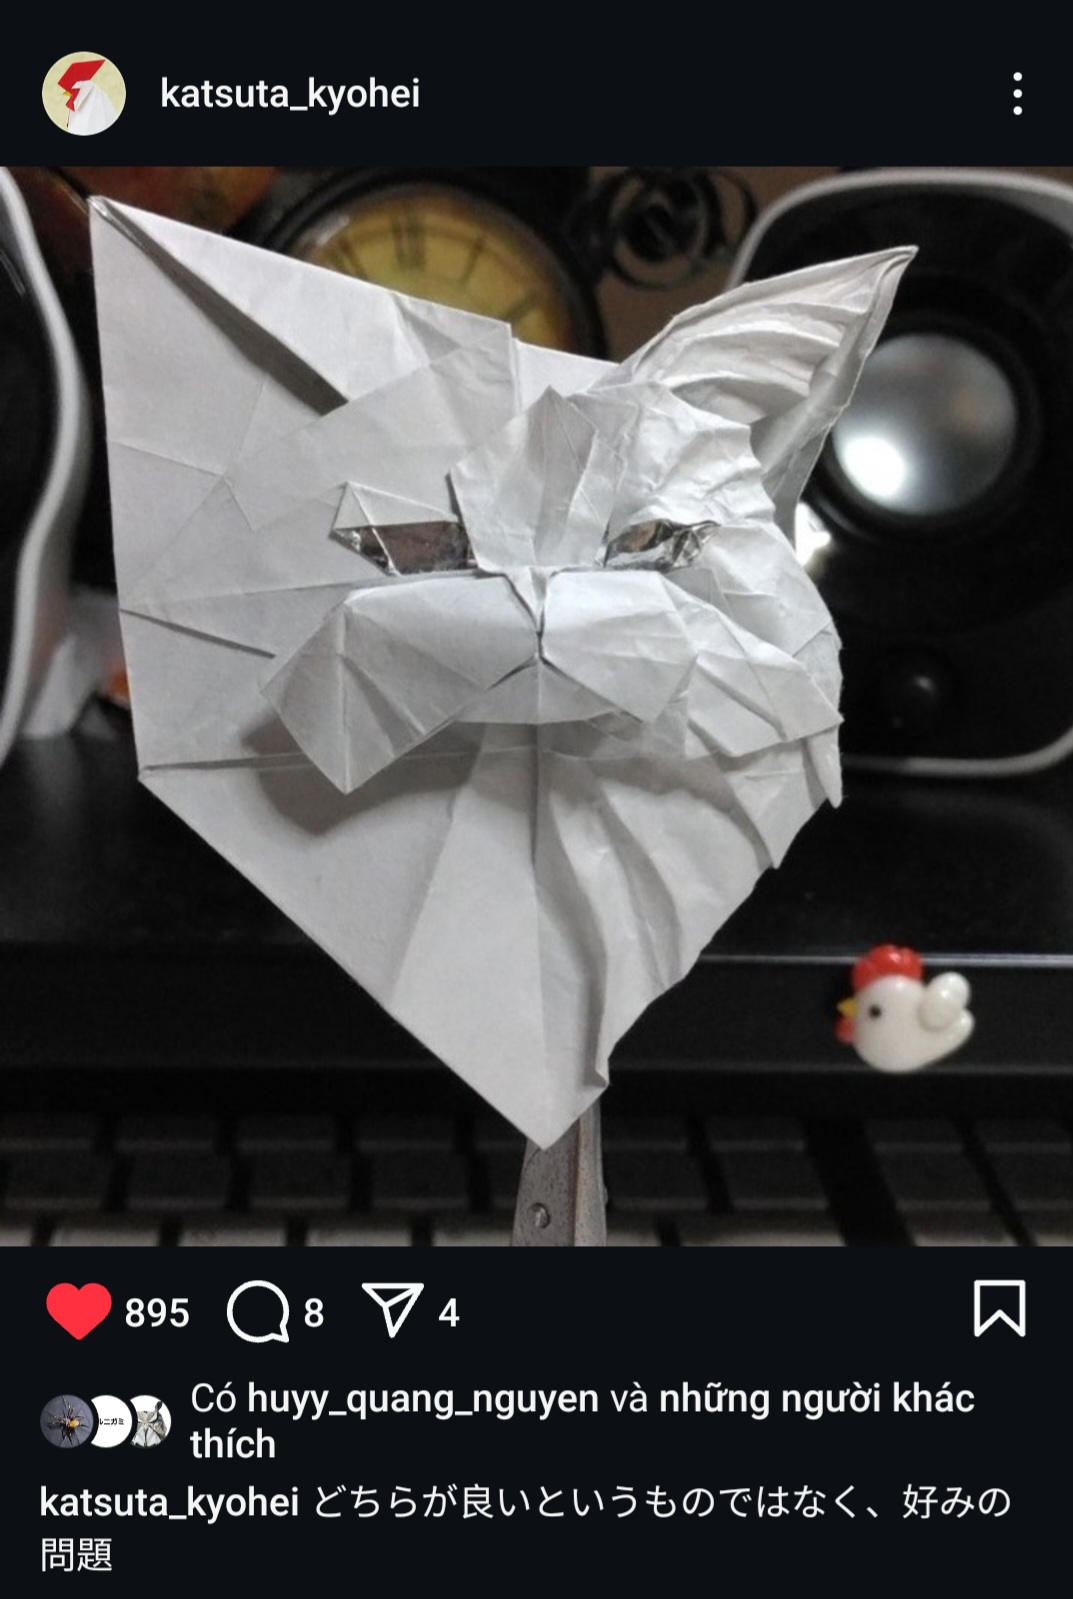
"Neither is better, it's just a matter of preference"
This philosophy impressed me a lot. Well, instead of arguing about which one is better, we should respect each other's idea and focus on sharping our skills to continuously improve our style.
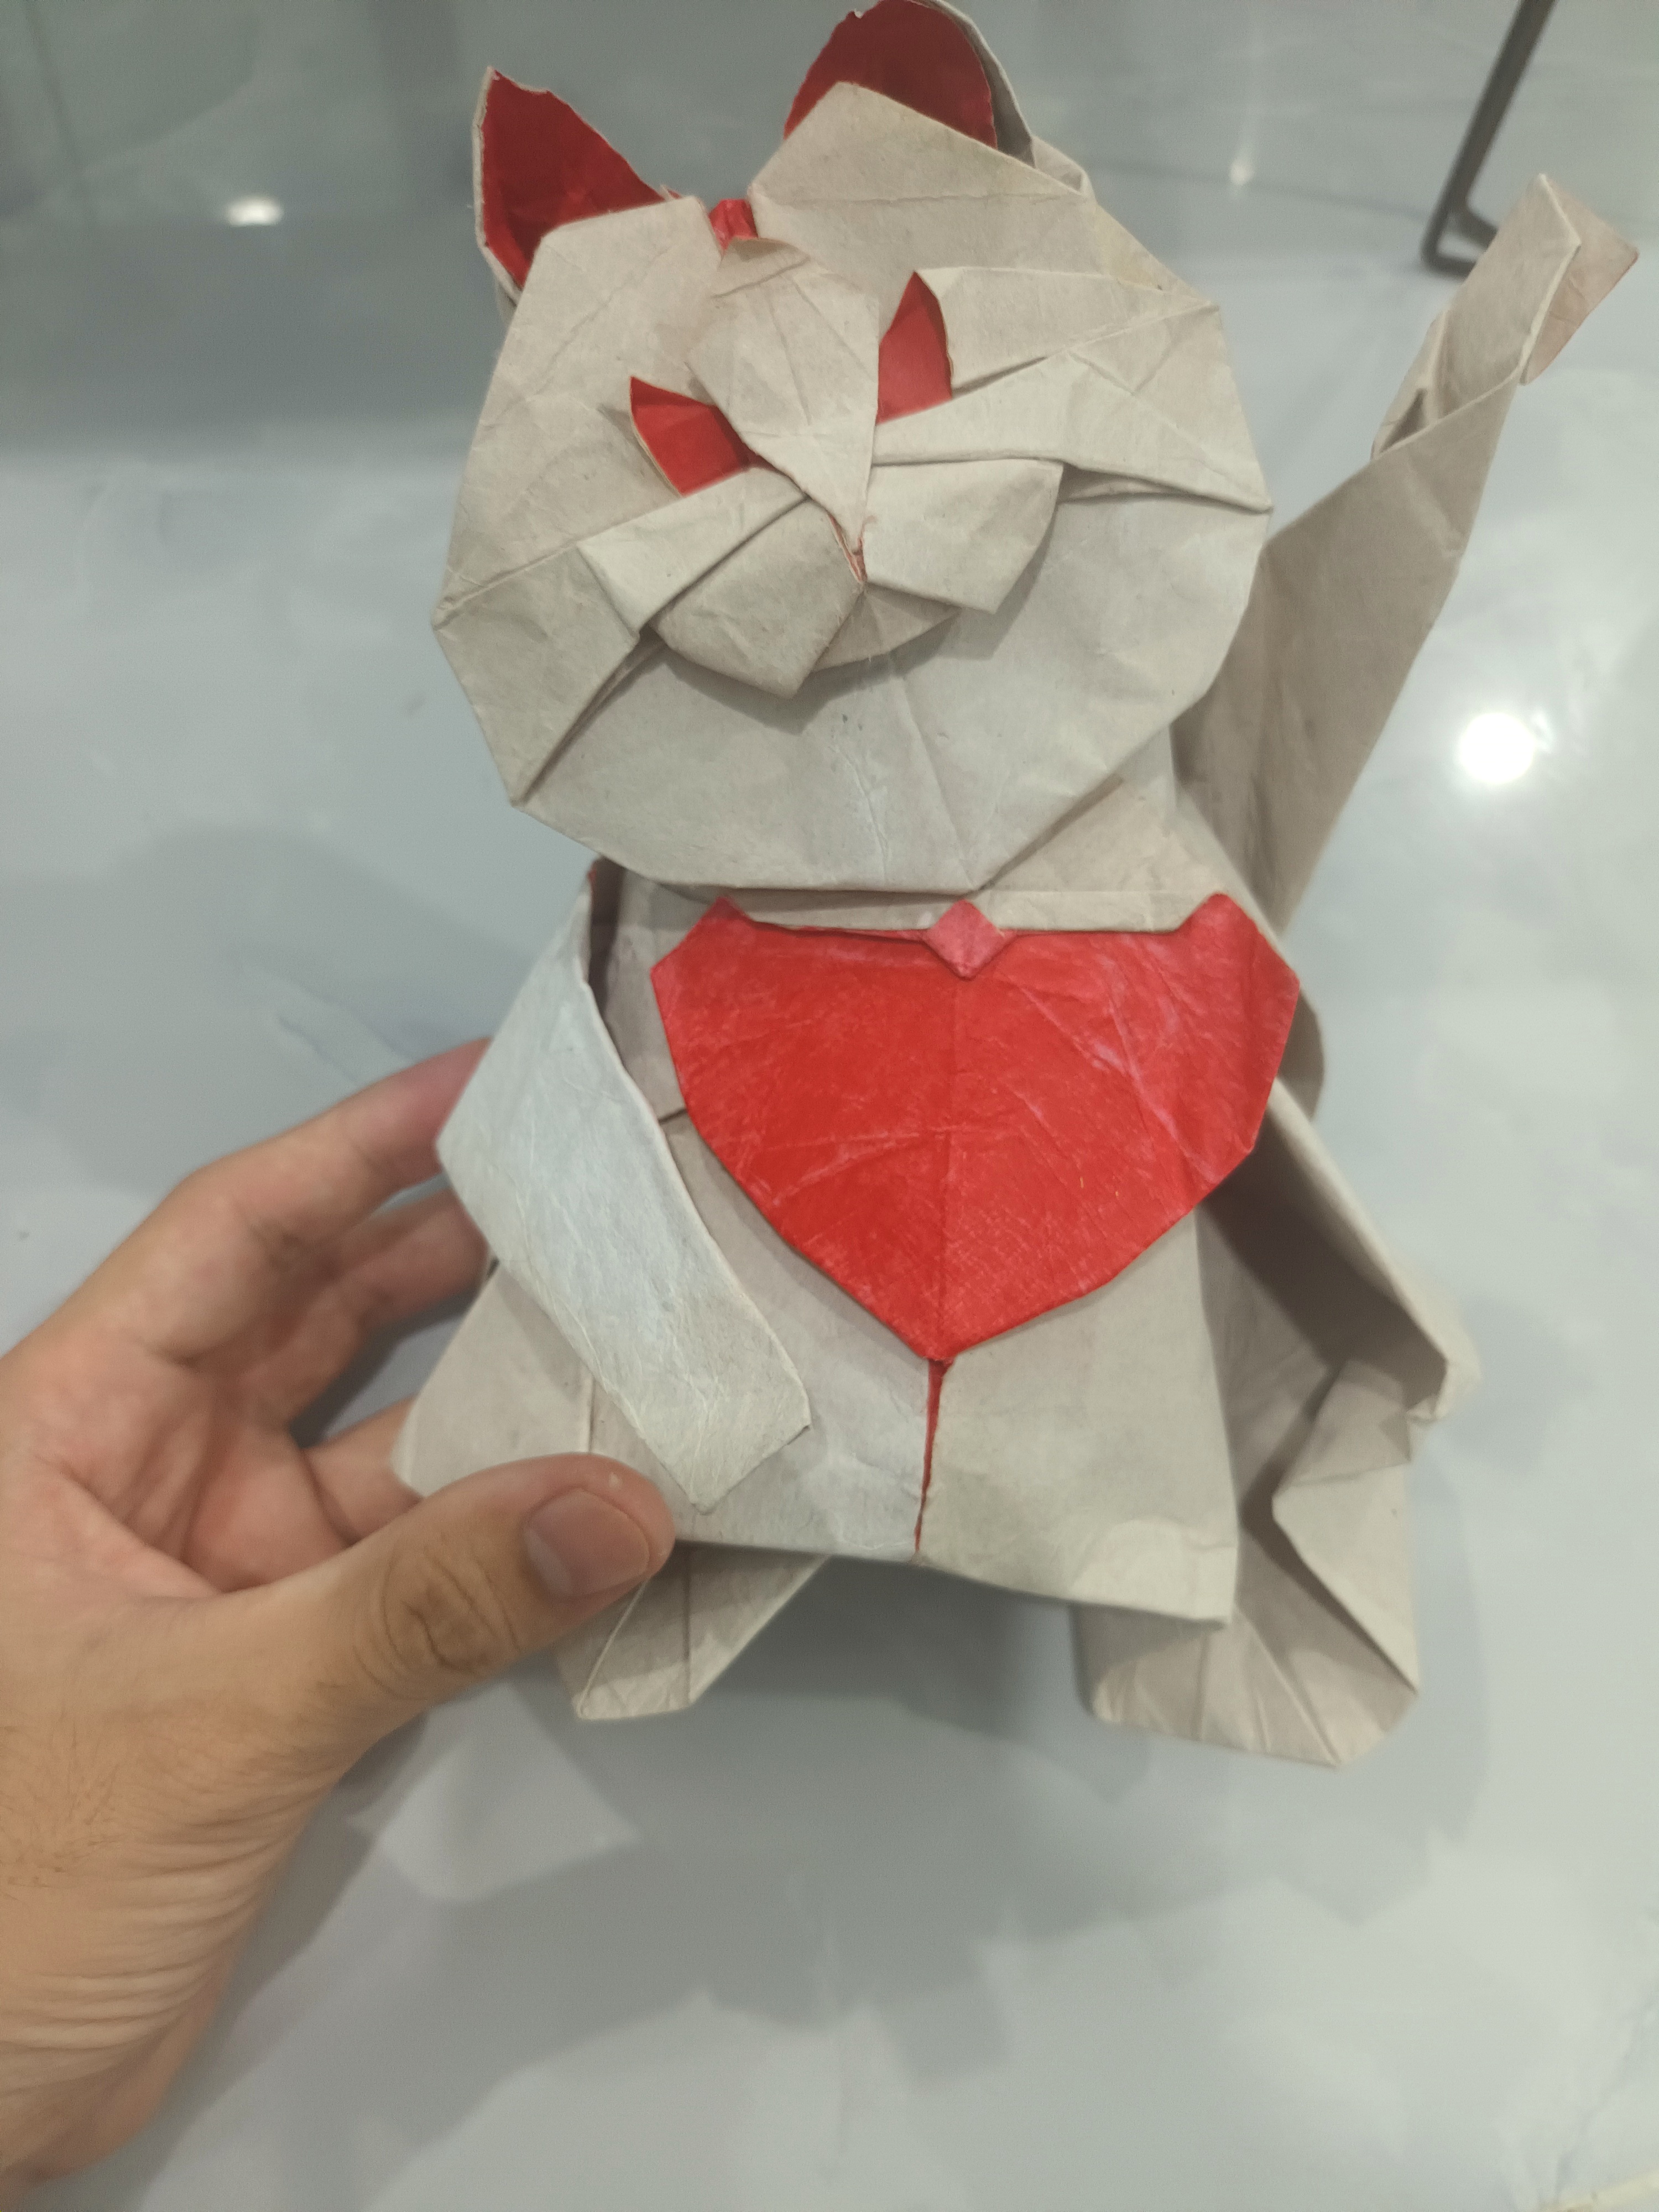
Also, the head is really good, I replicated this design and made some modifications to make it look more like a lucky cat.
Creating the Model
For the body, I have tried a freestyle design starting with a fish base. Here are some drafts I made:
After finalizing the drafts, it was time to fold the final model.
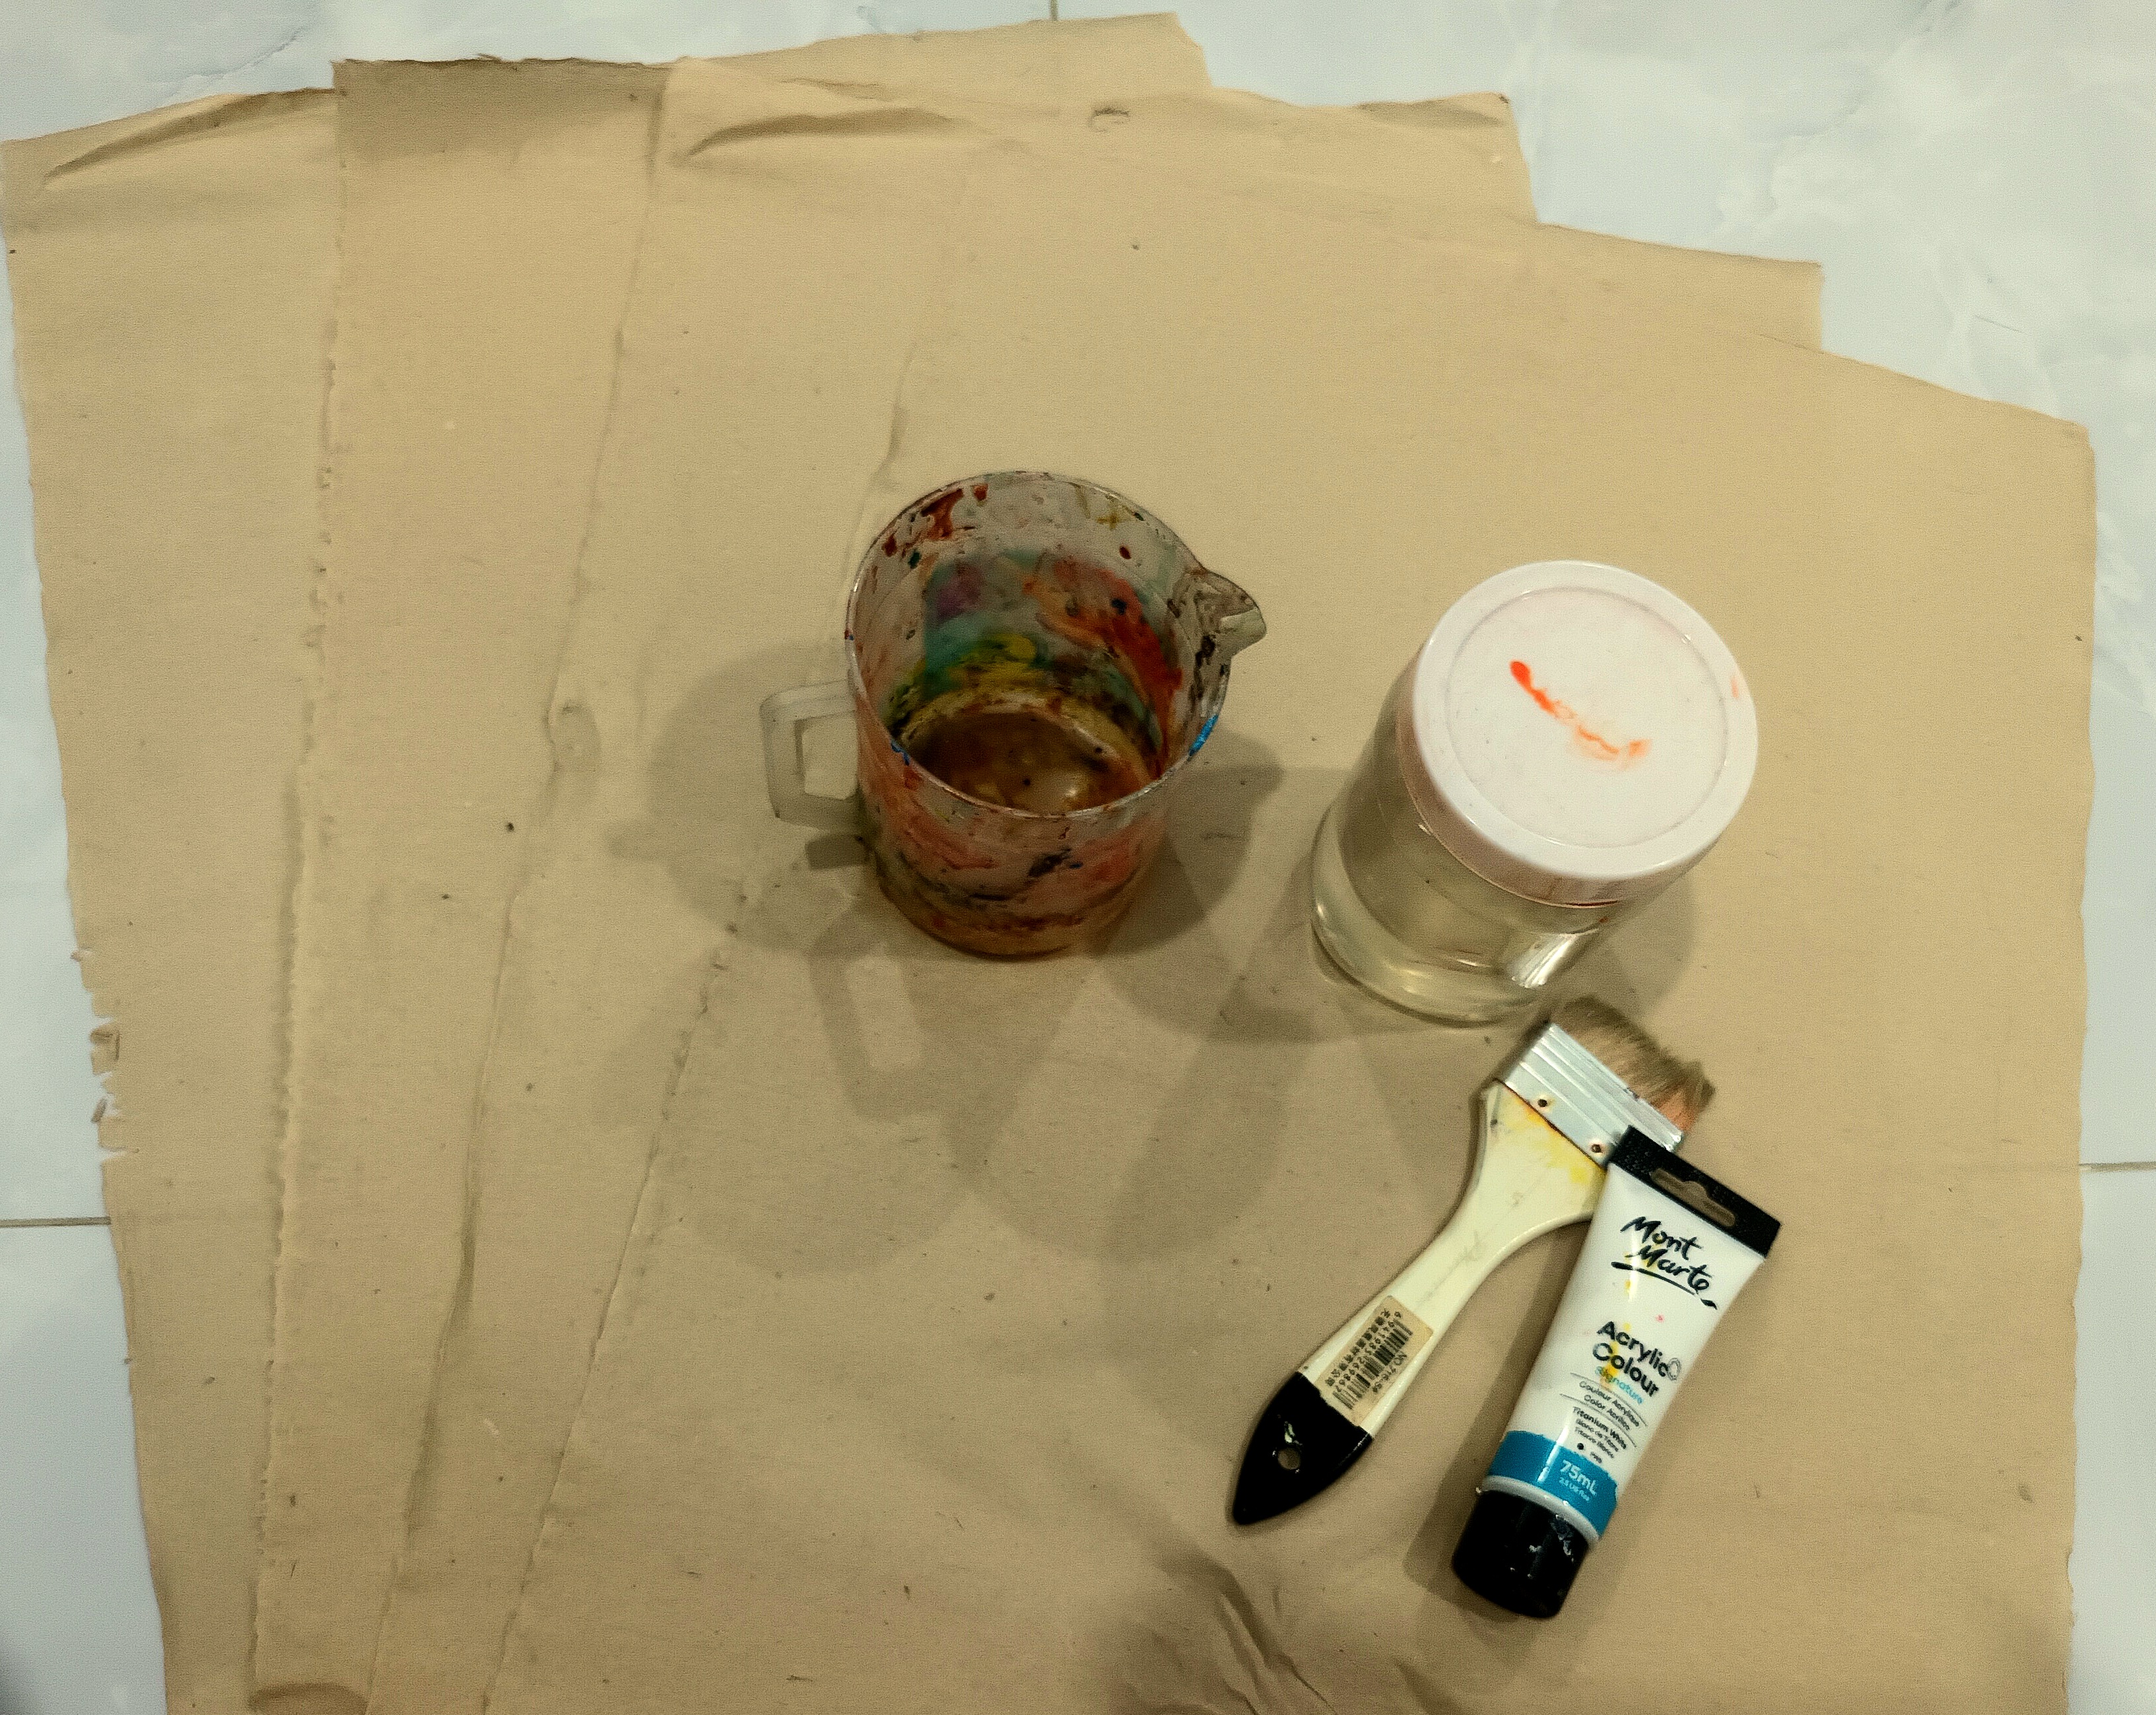
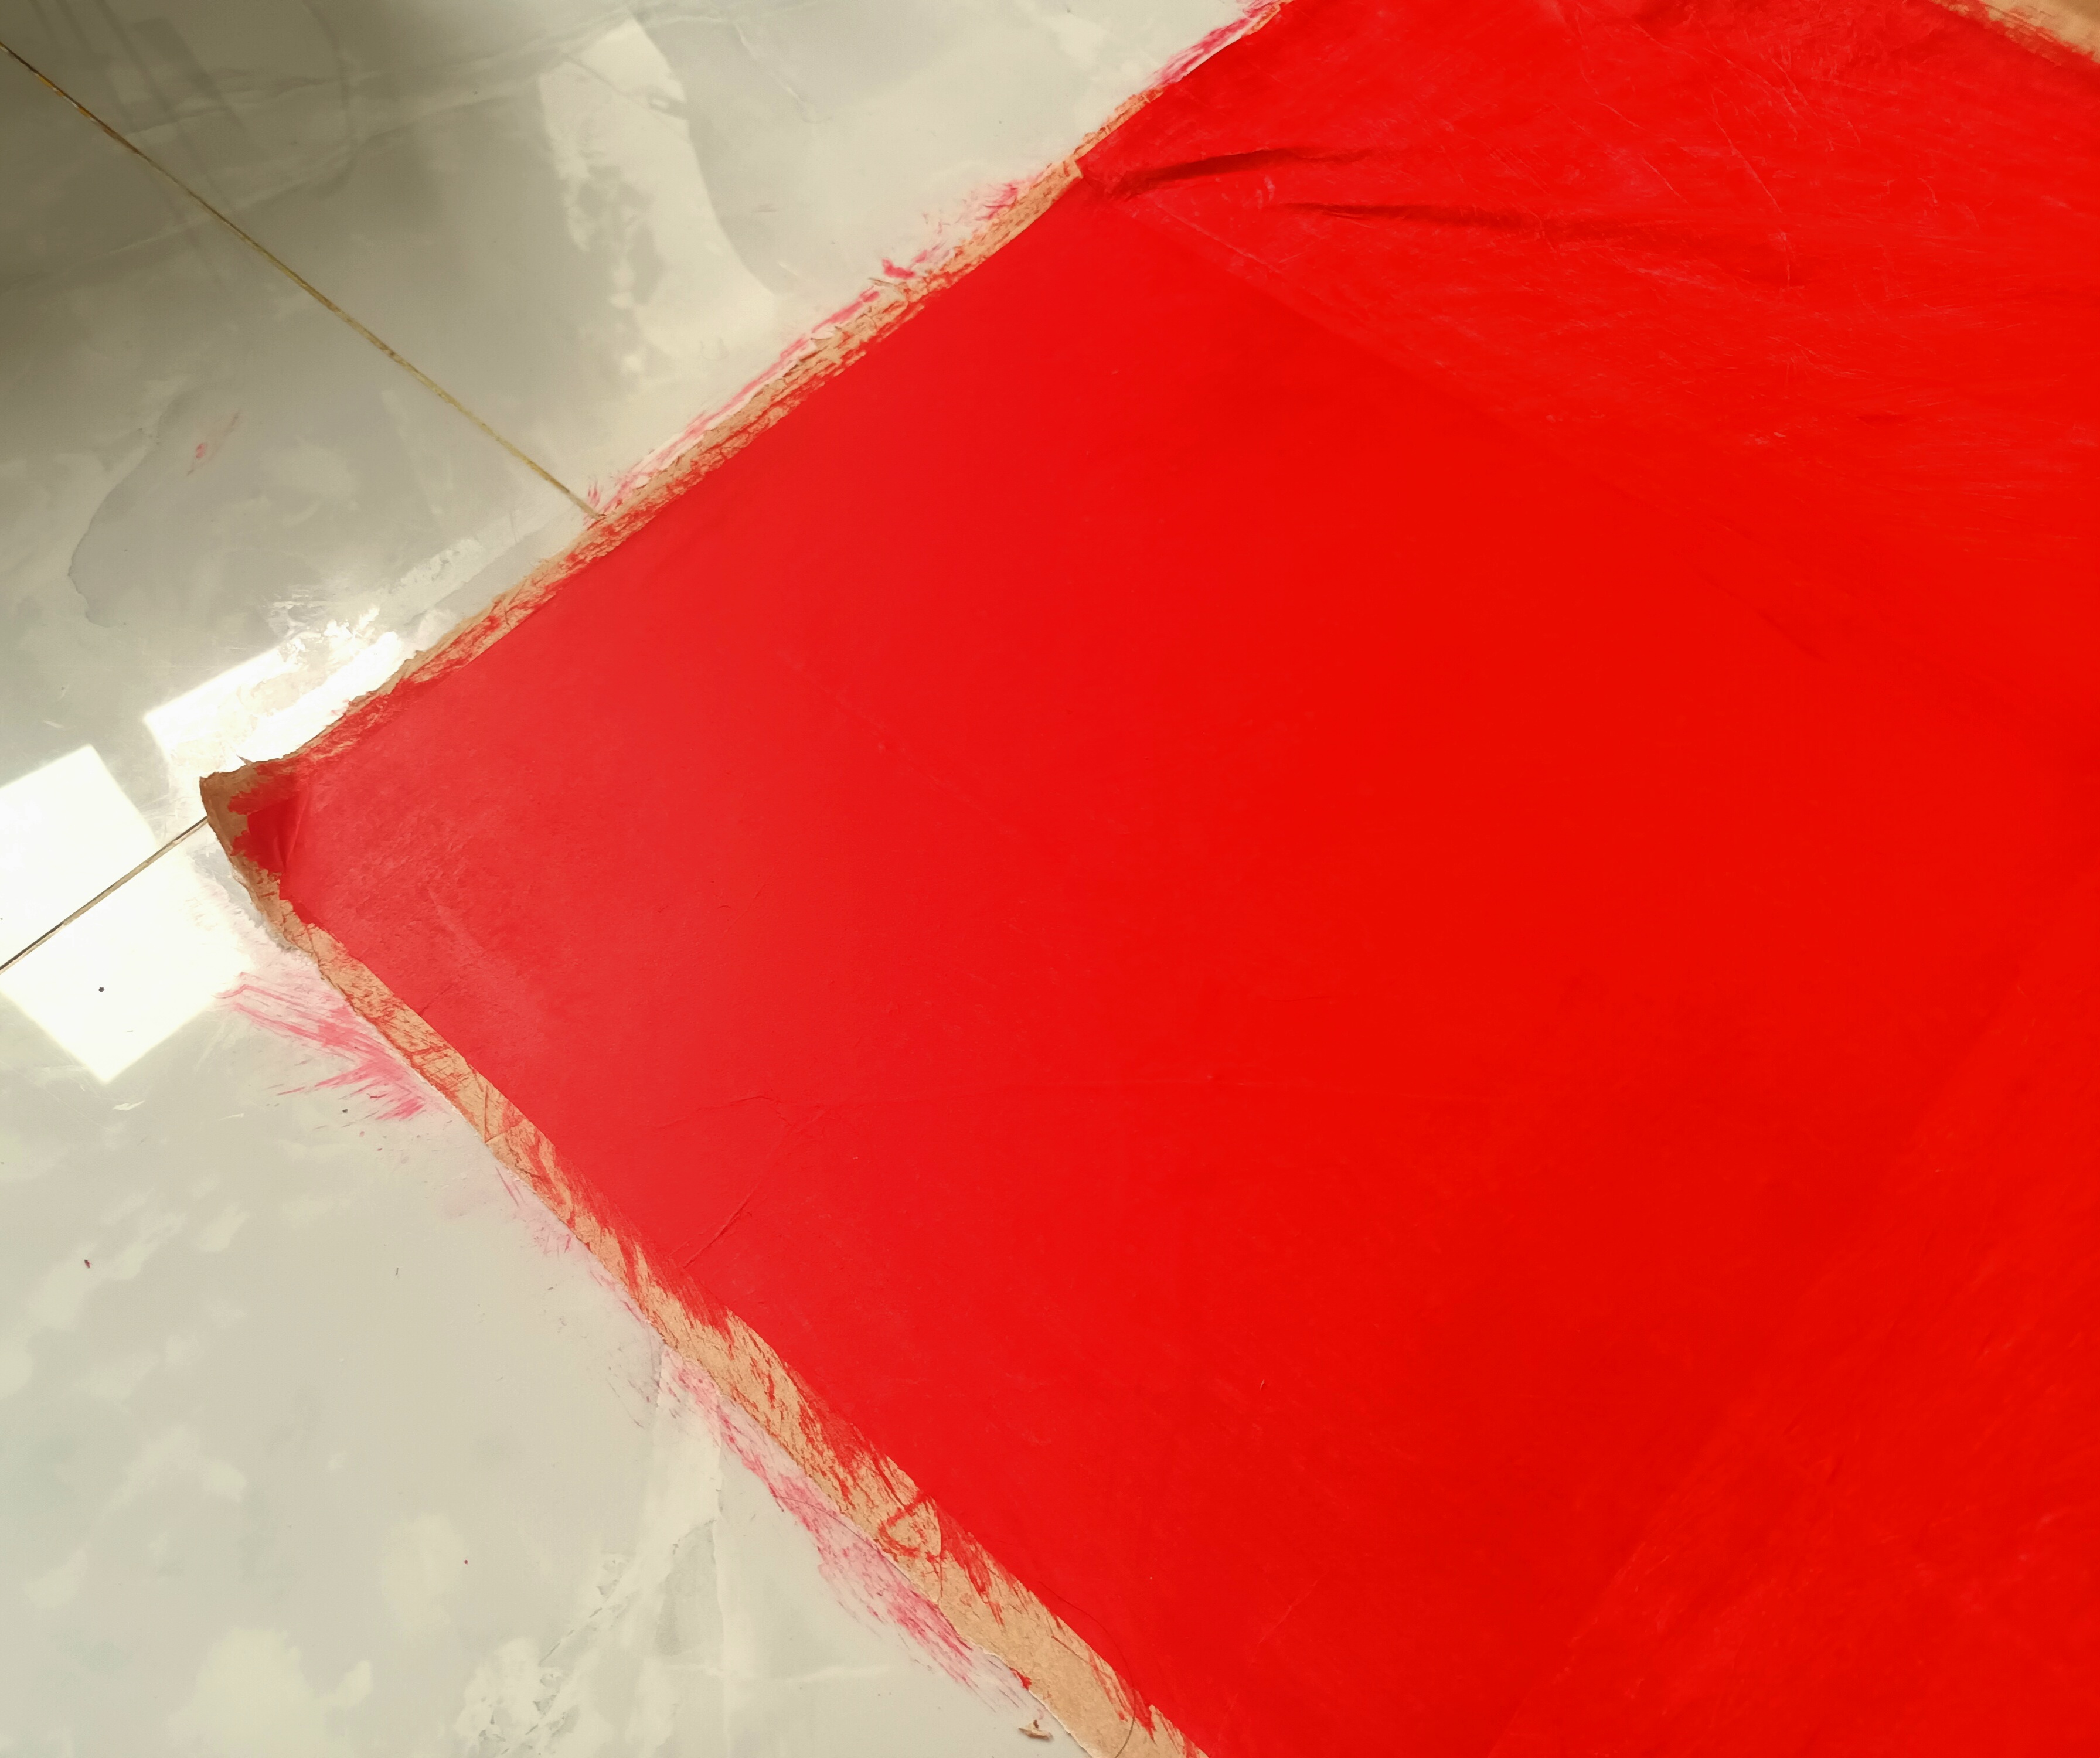
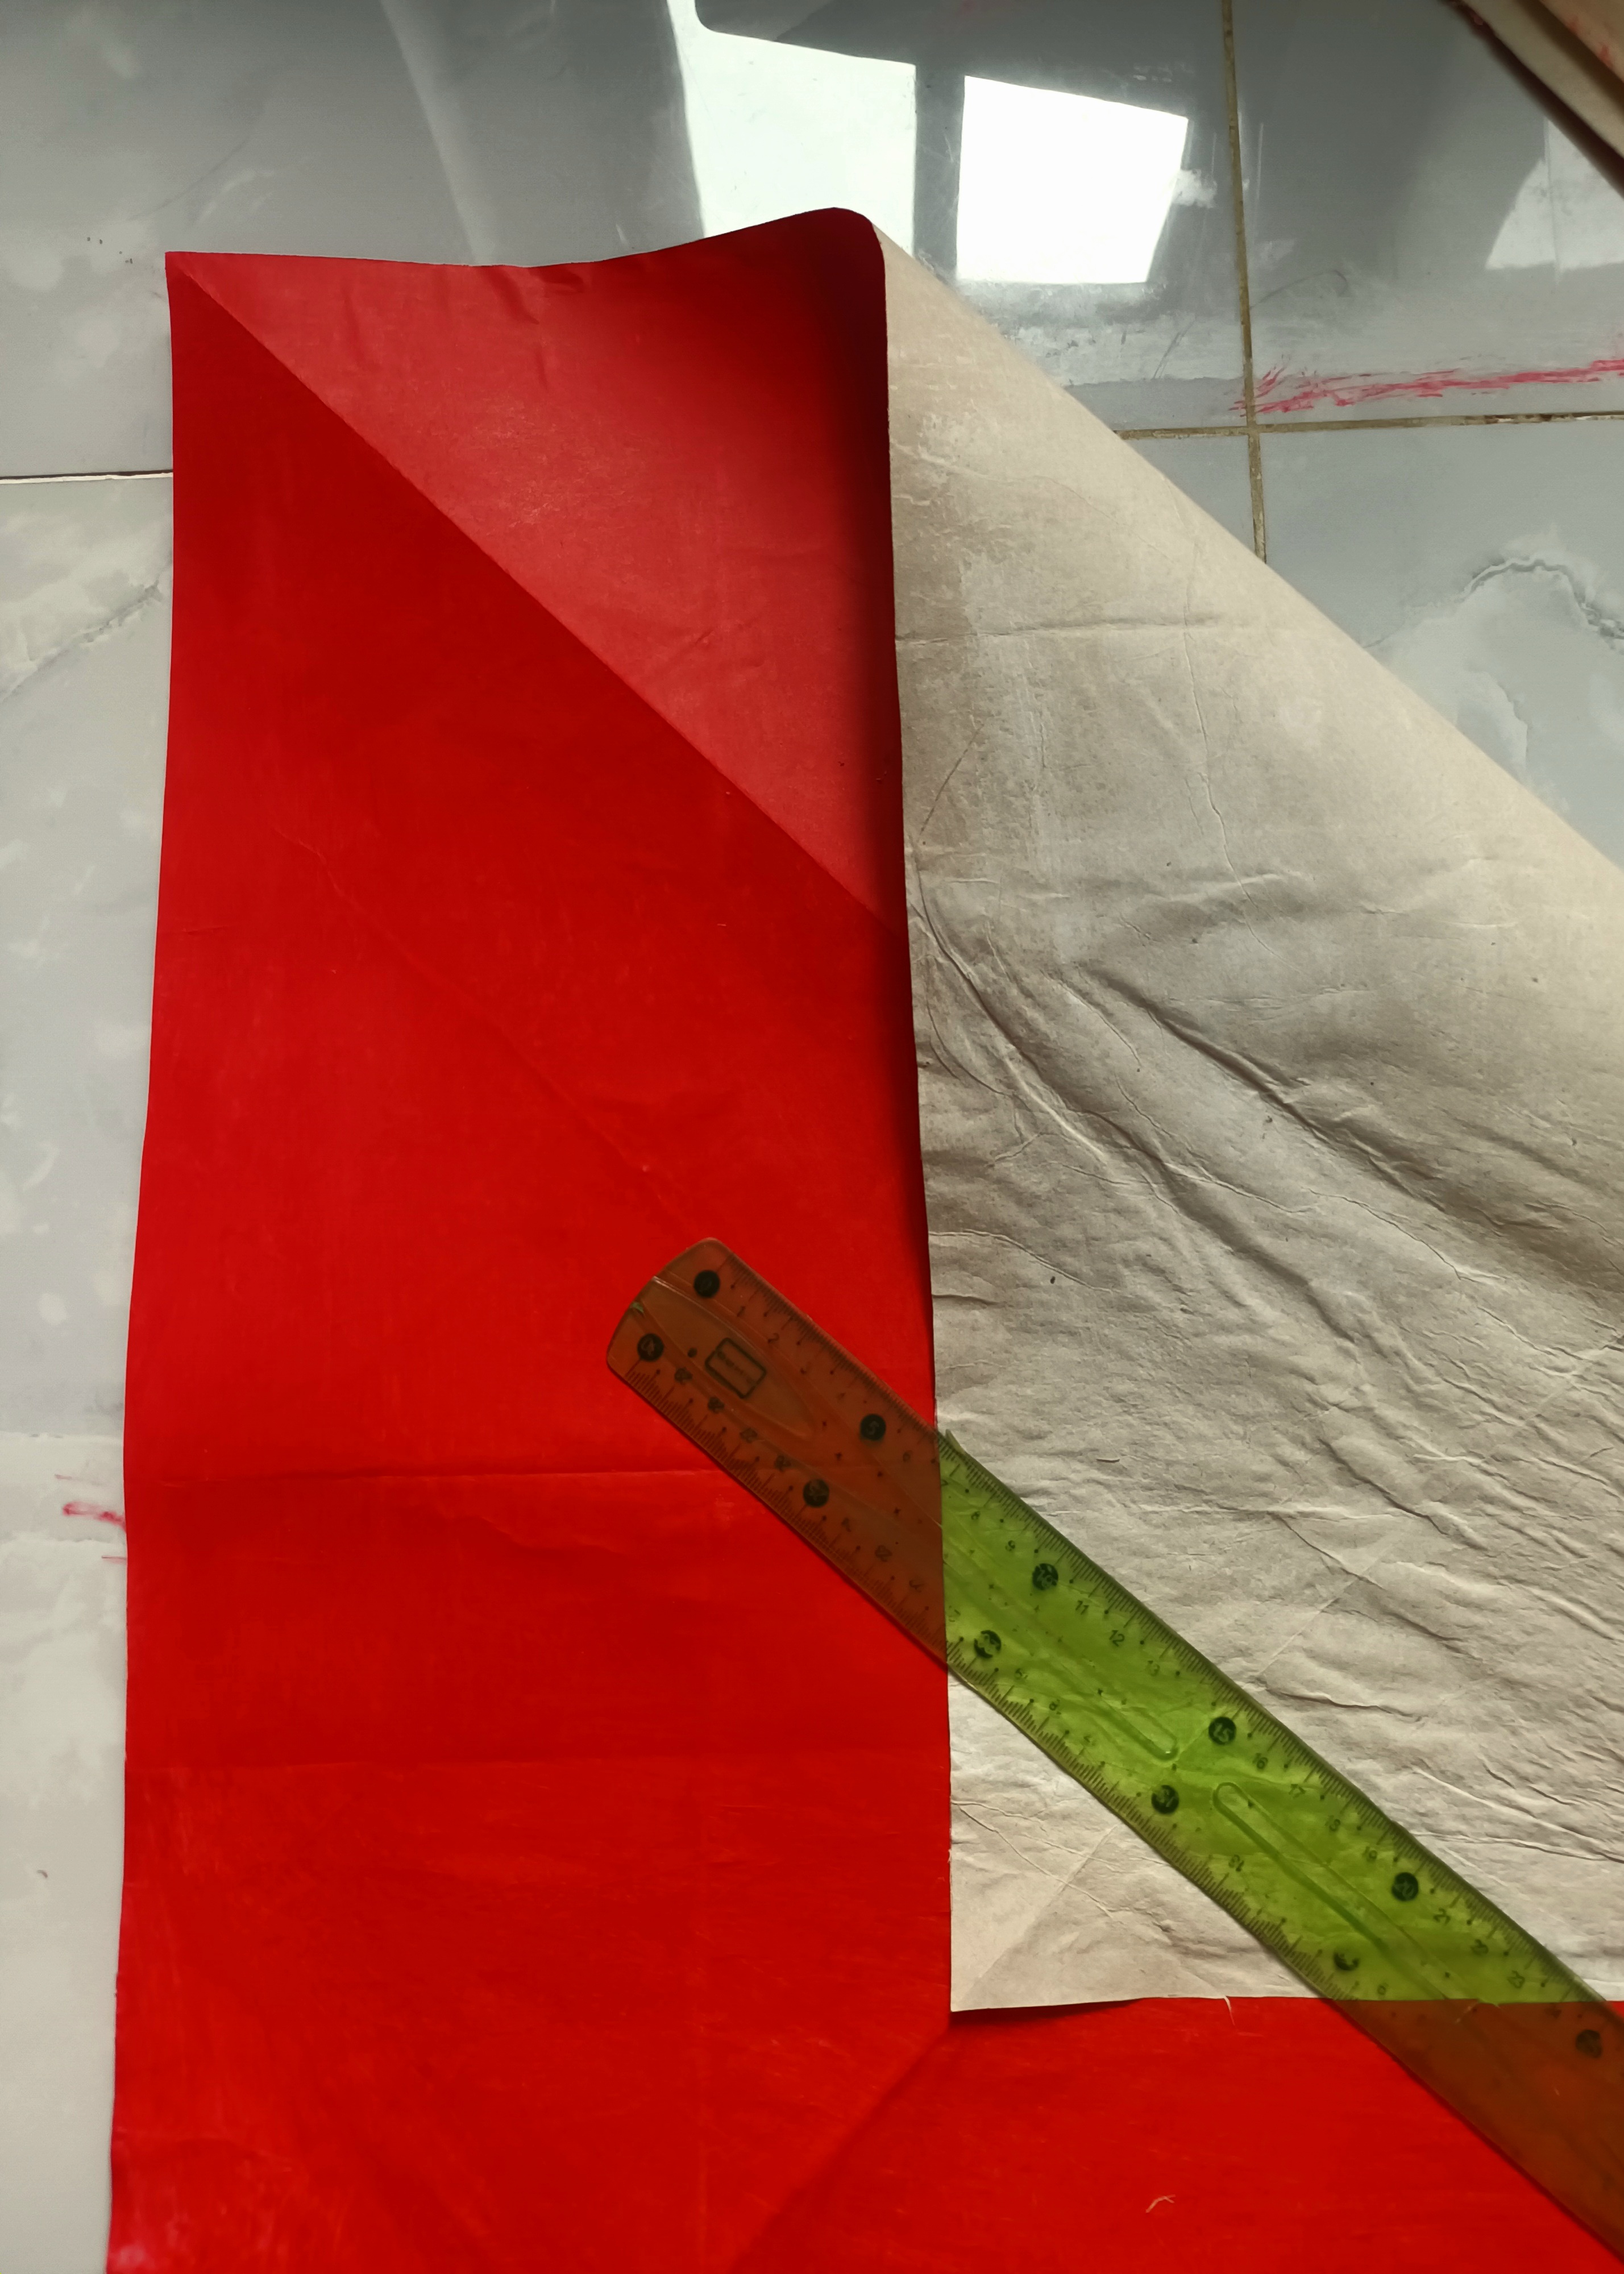
Preparing the Paper
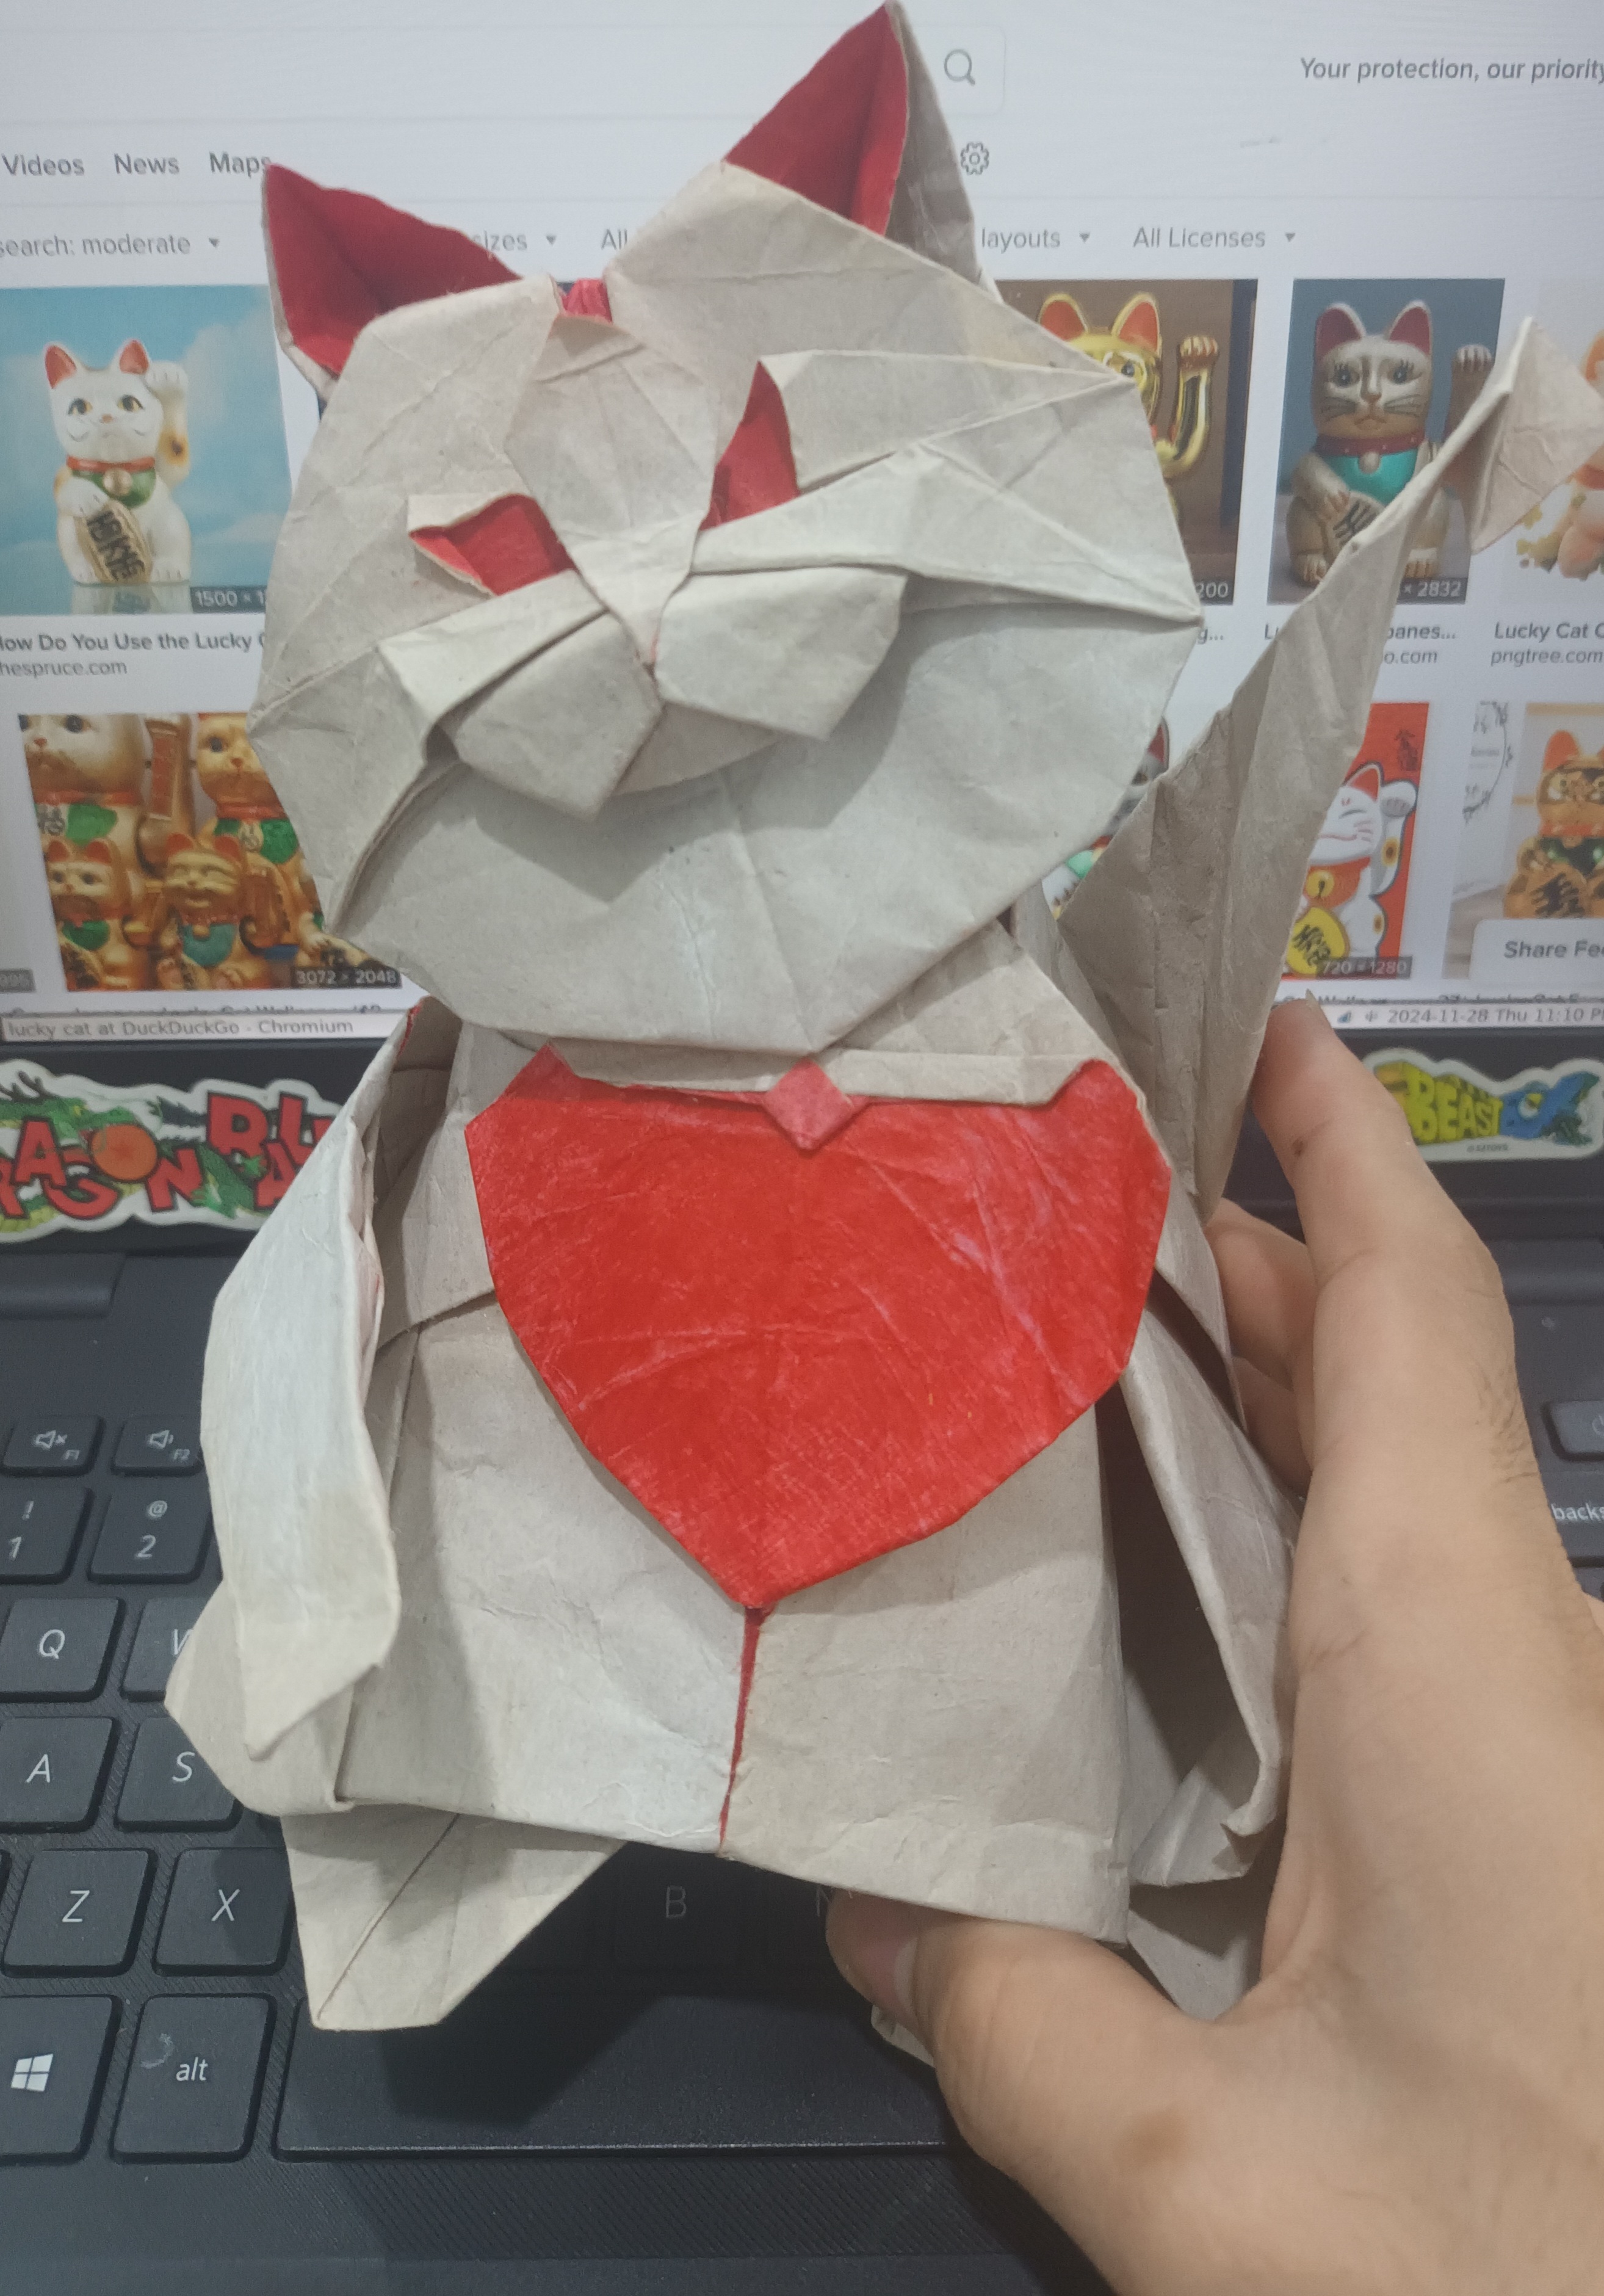
The first step was preparing the paper. I made a sheet with red on one side and white on the other side—popular colors for a lucky cat.
Here are the materials I usually use:
- Dó paper: Traditional handmade Vietnamese paper, strong but not hard enough for folding, but after the treatment, it's texture is amazing.
- CMC: A glue-like liquid to treat the paper and make it firm.
- Brush and colors: For applying the layers of treatment and color.
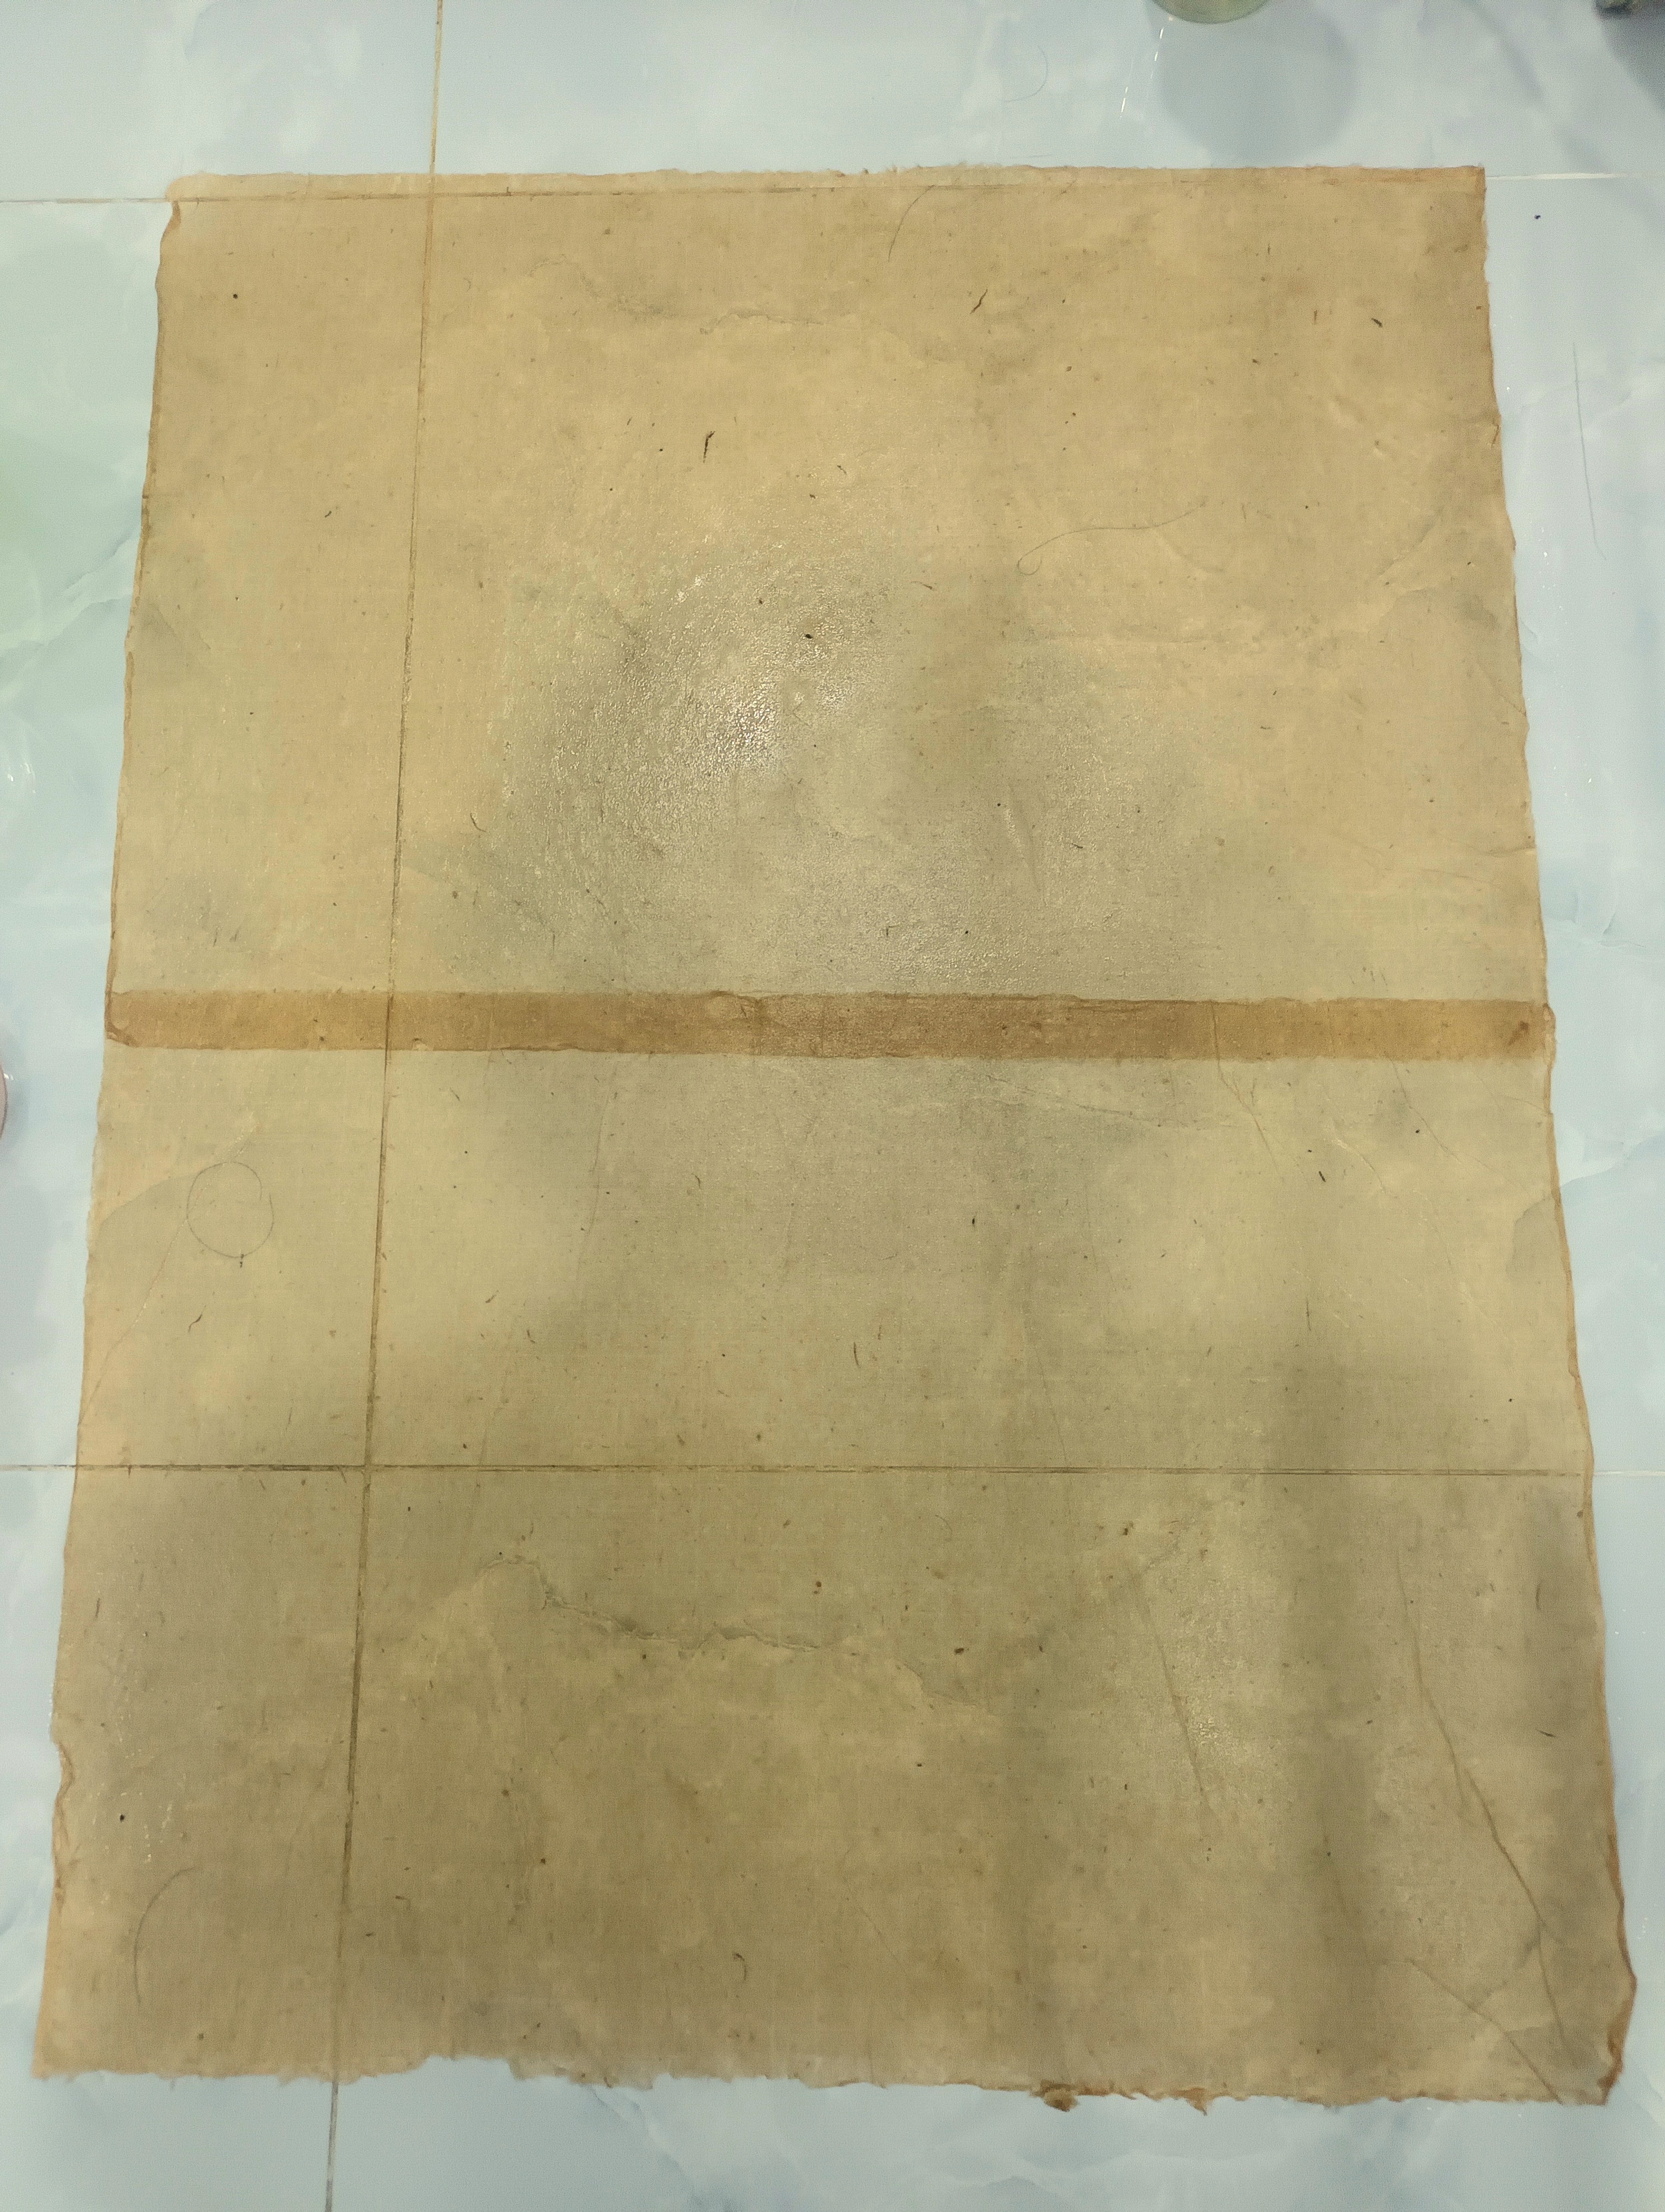
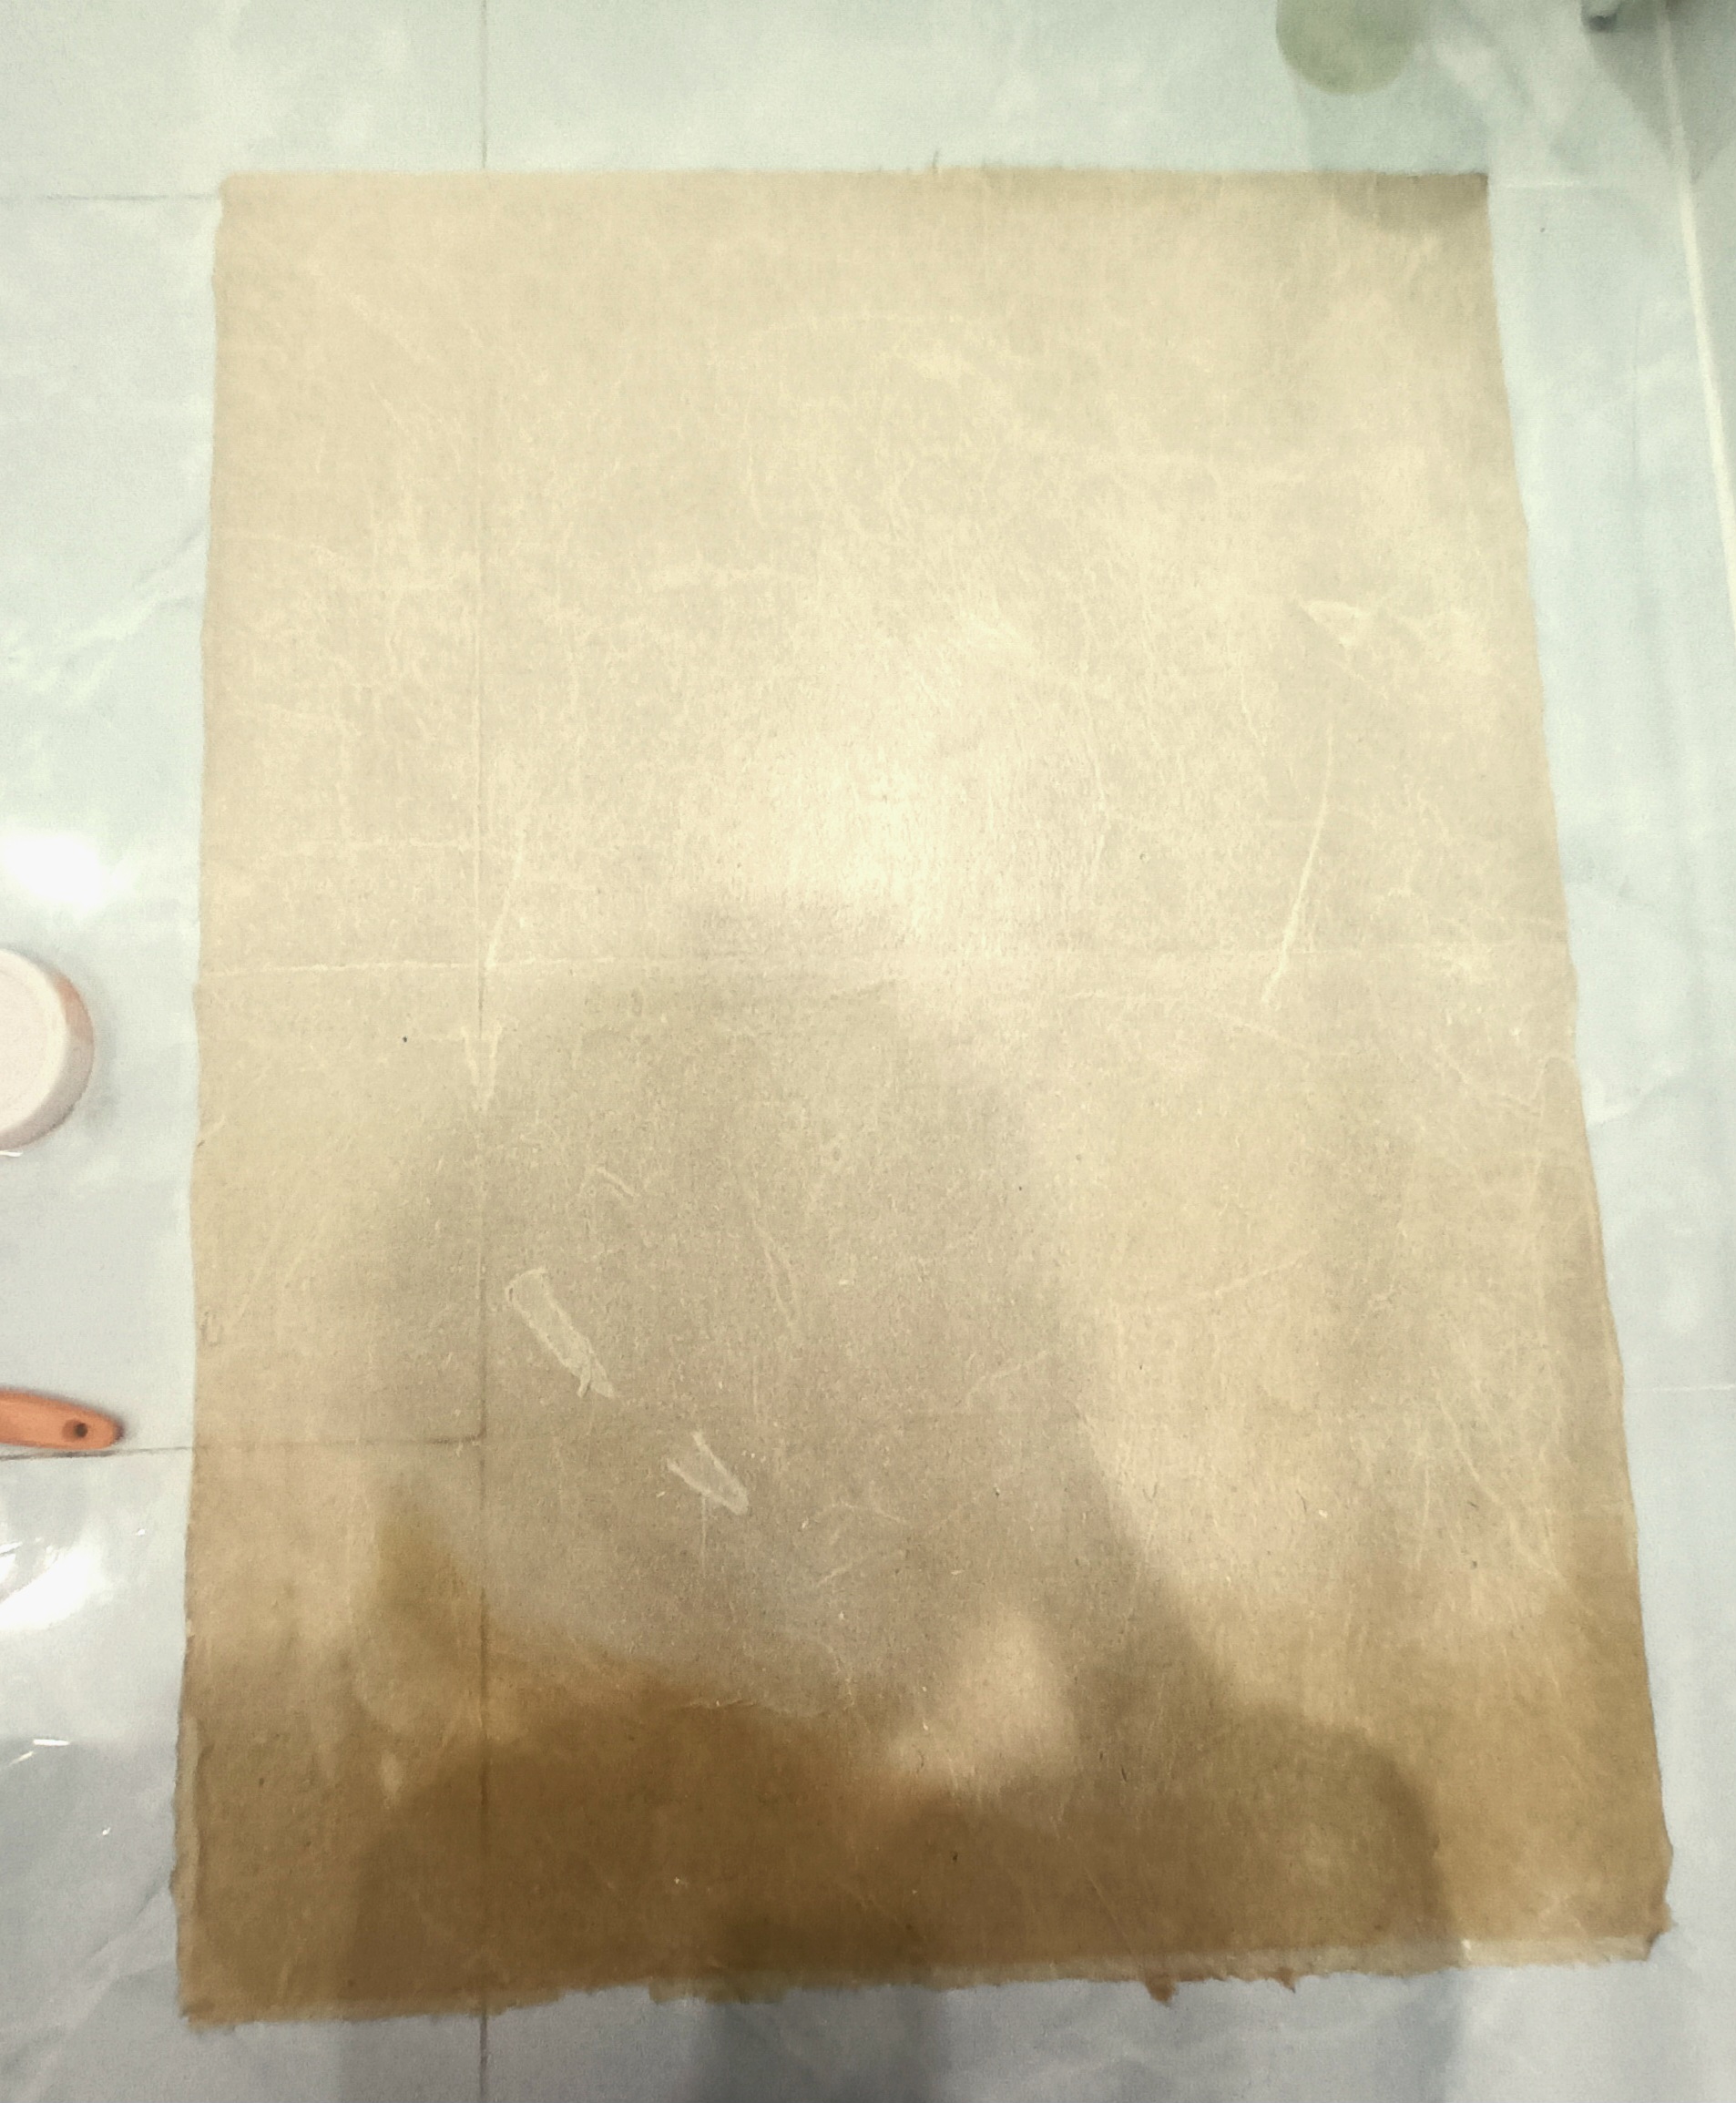
I sprayed the paper on a flat surface and coated a thin layer of CMC using a soft brush. For a stronger and thicker result, I added another layer of paper on top. Then, I applied multiple layers of color, letting the paper dry between each layer.
After finishing one side, I turned it over and added the red layer. The entire process took nearly a day—most of the time was spent waiting for the paper to dry.
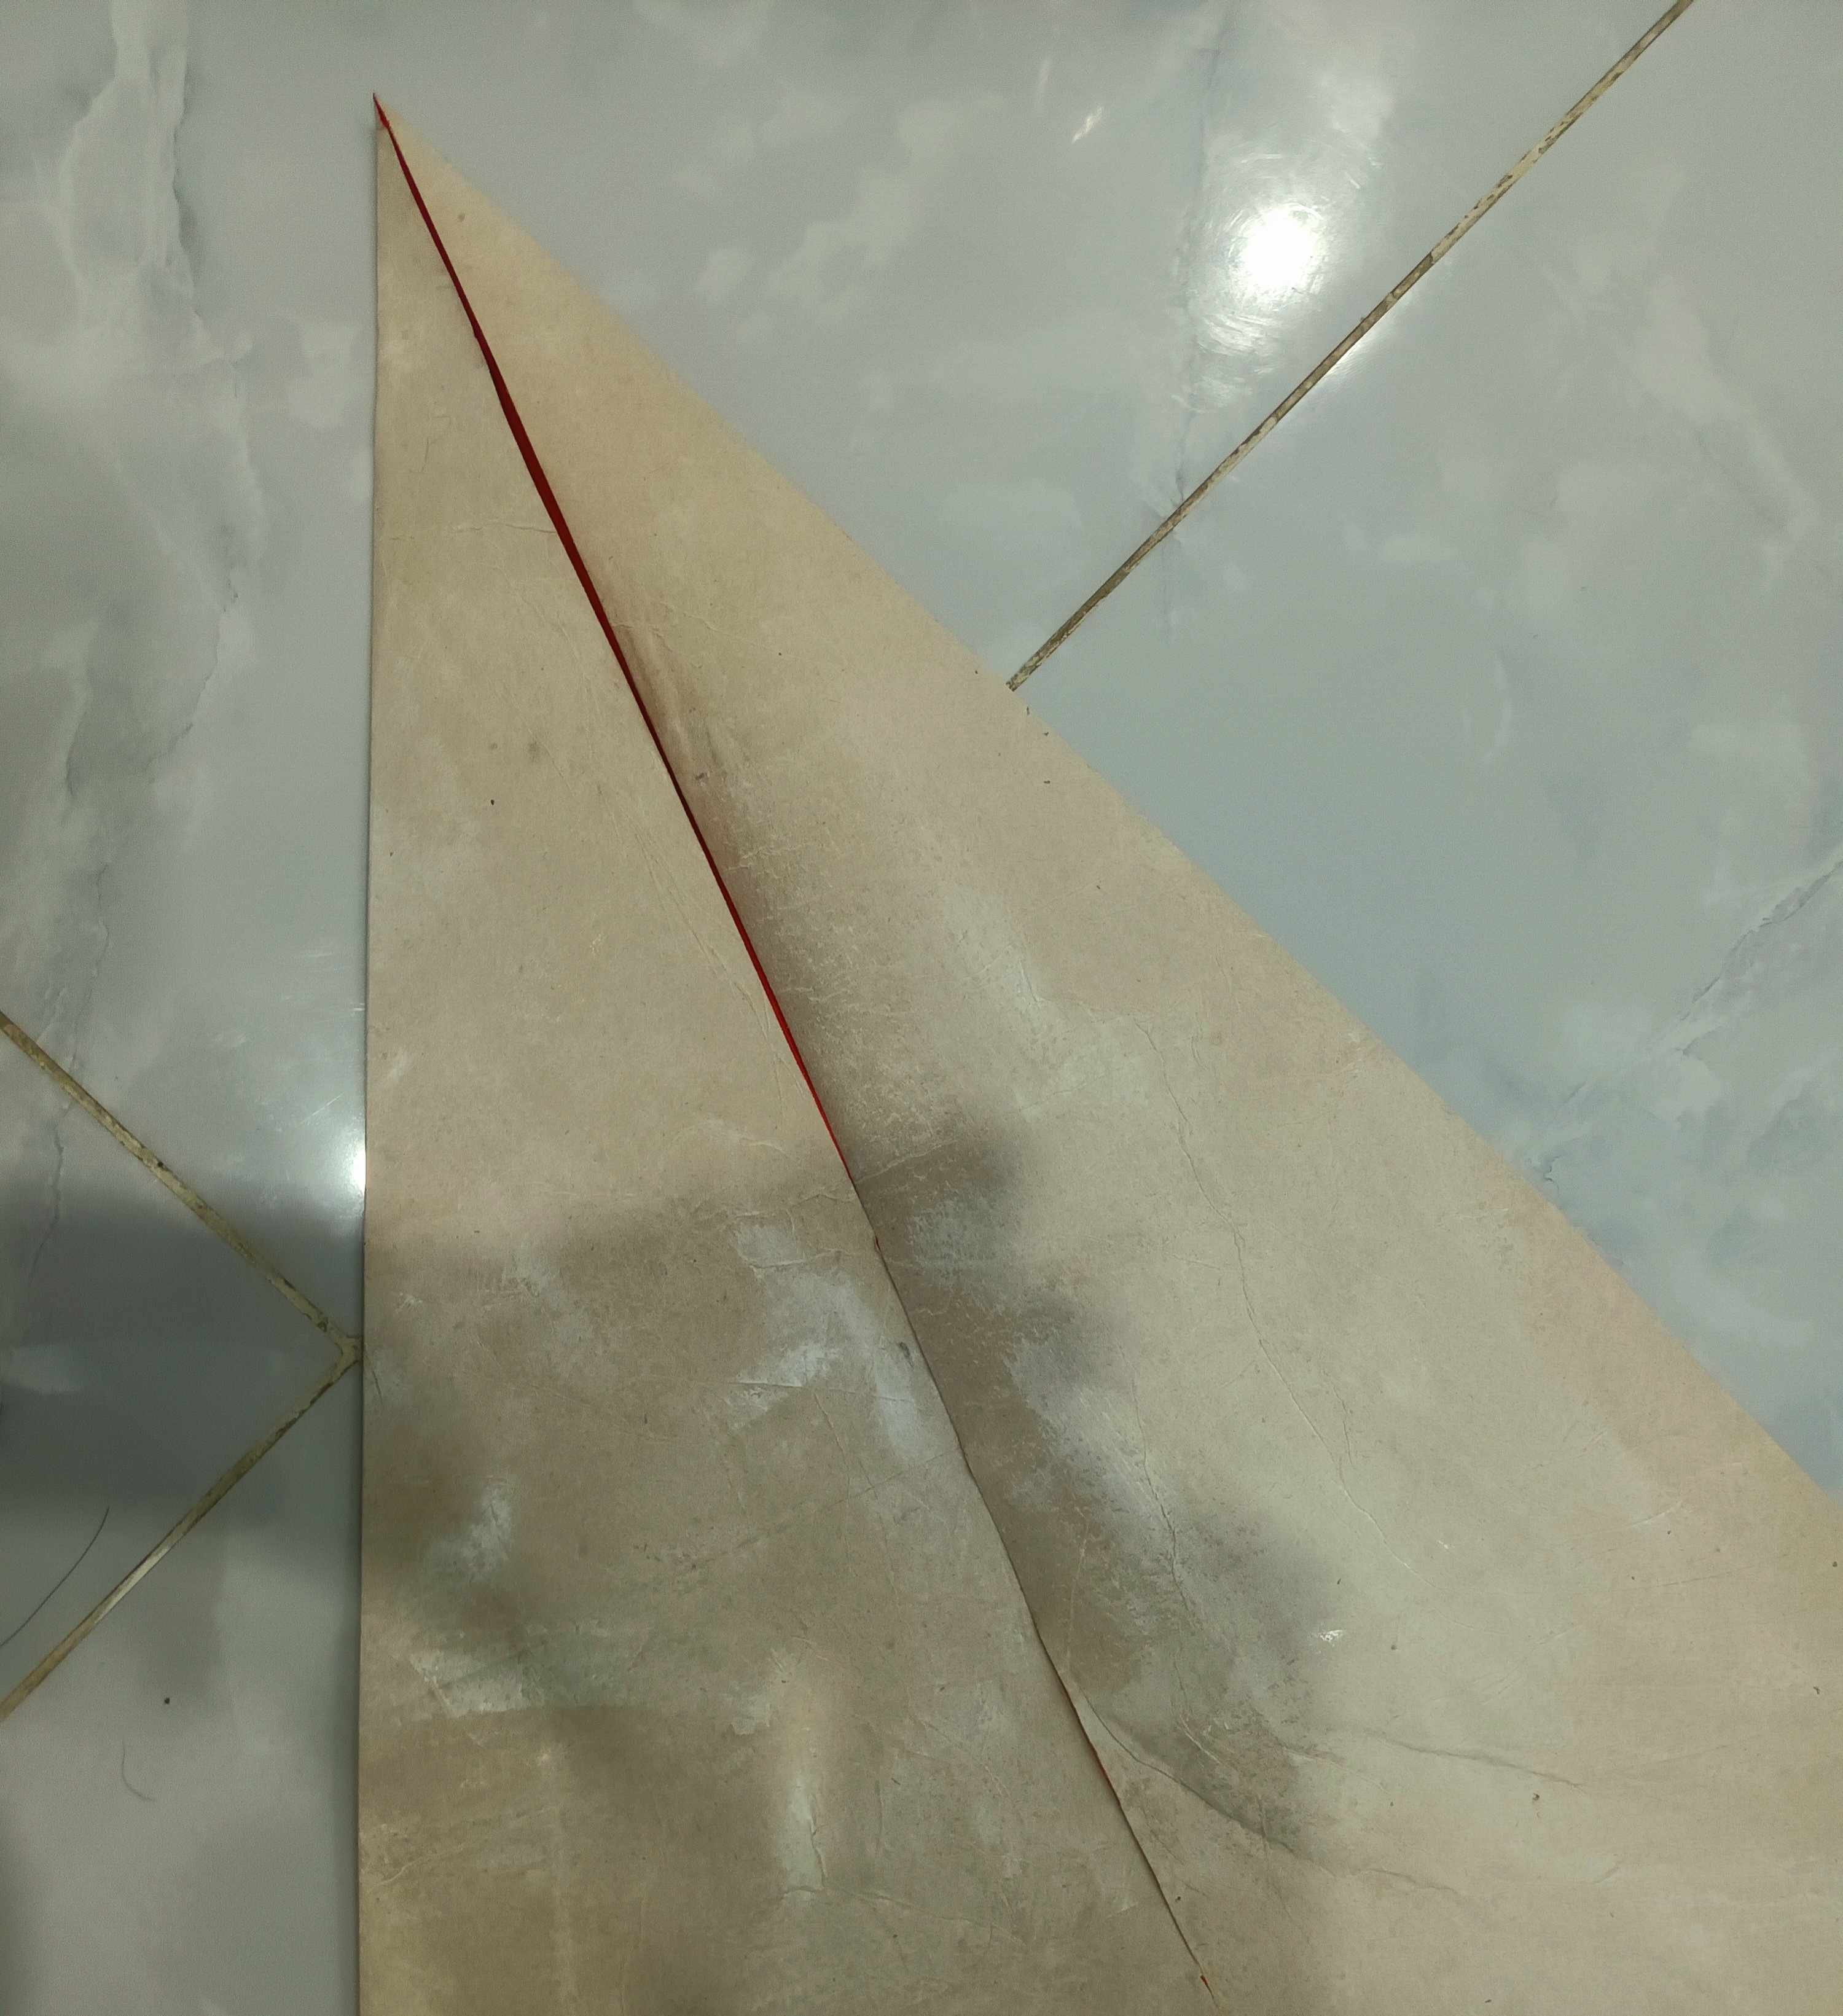
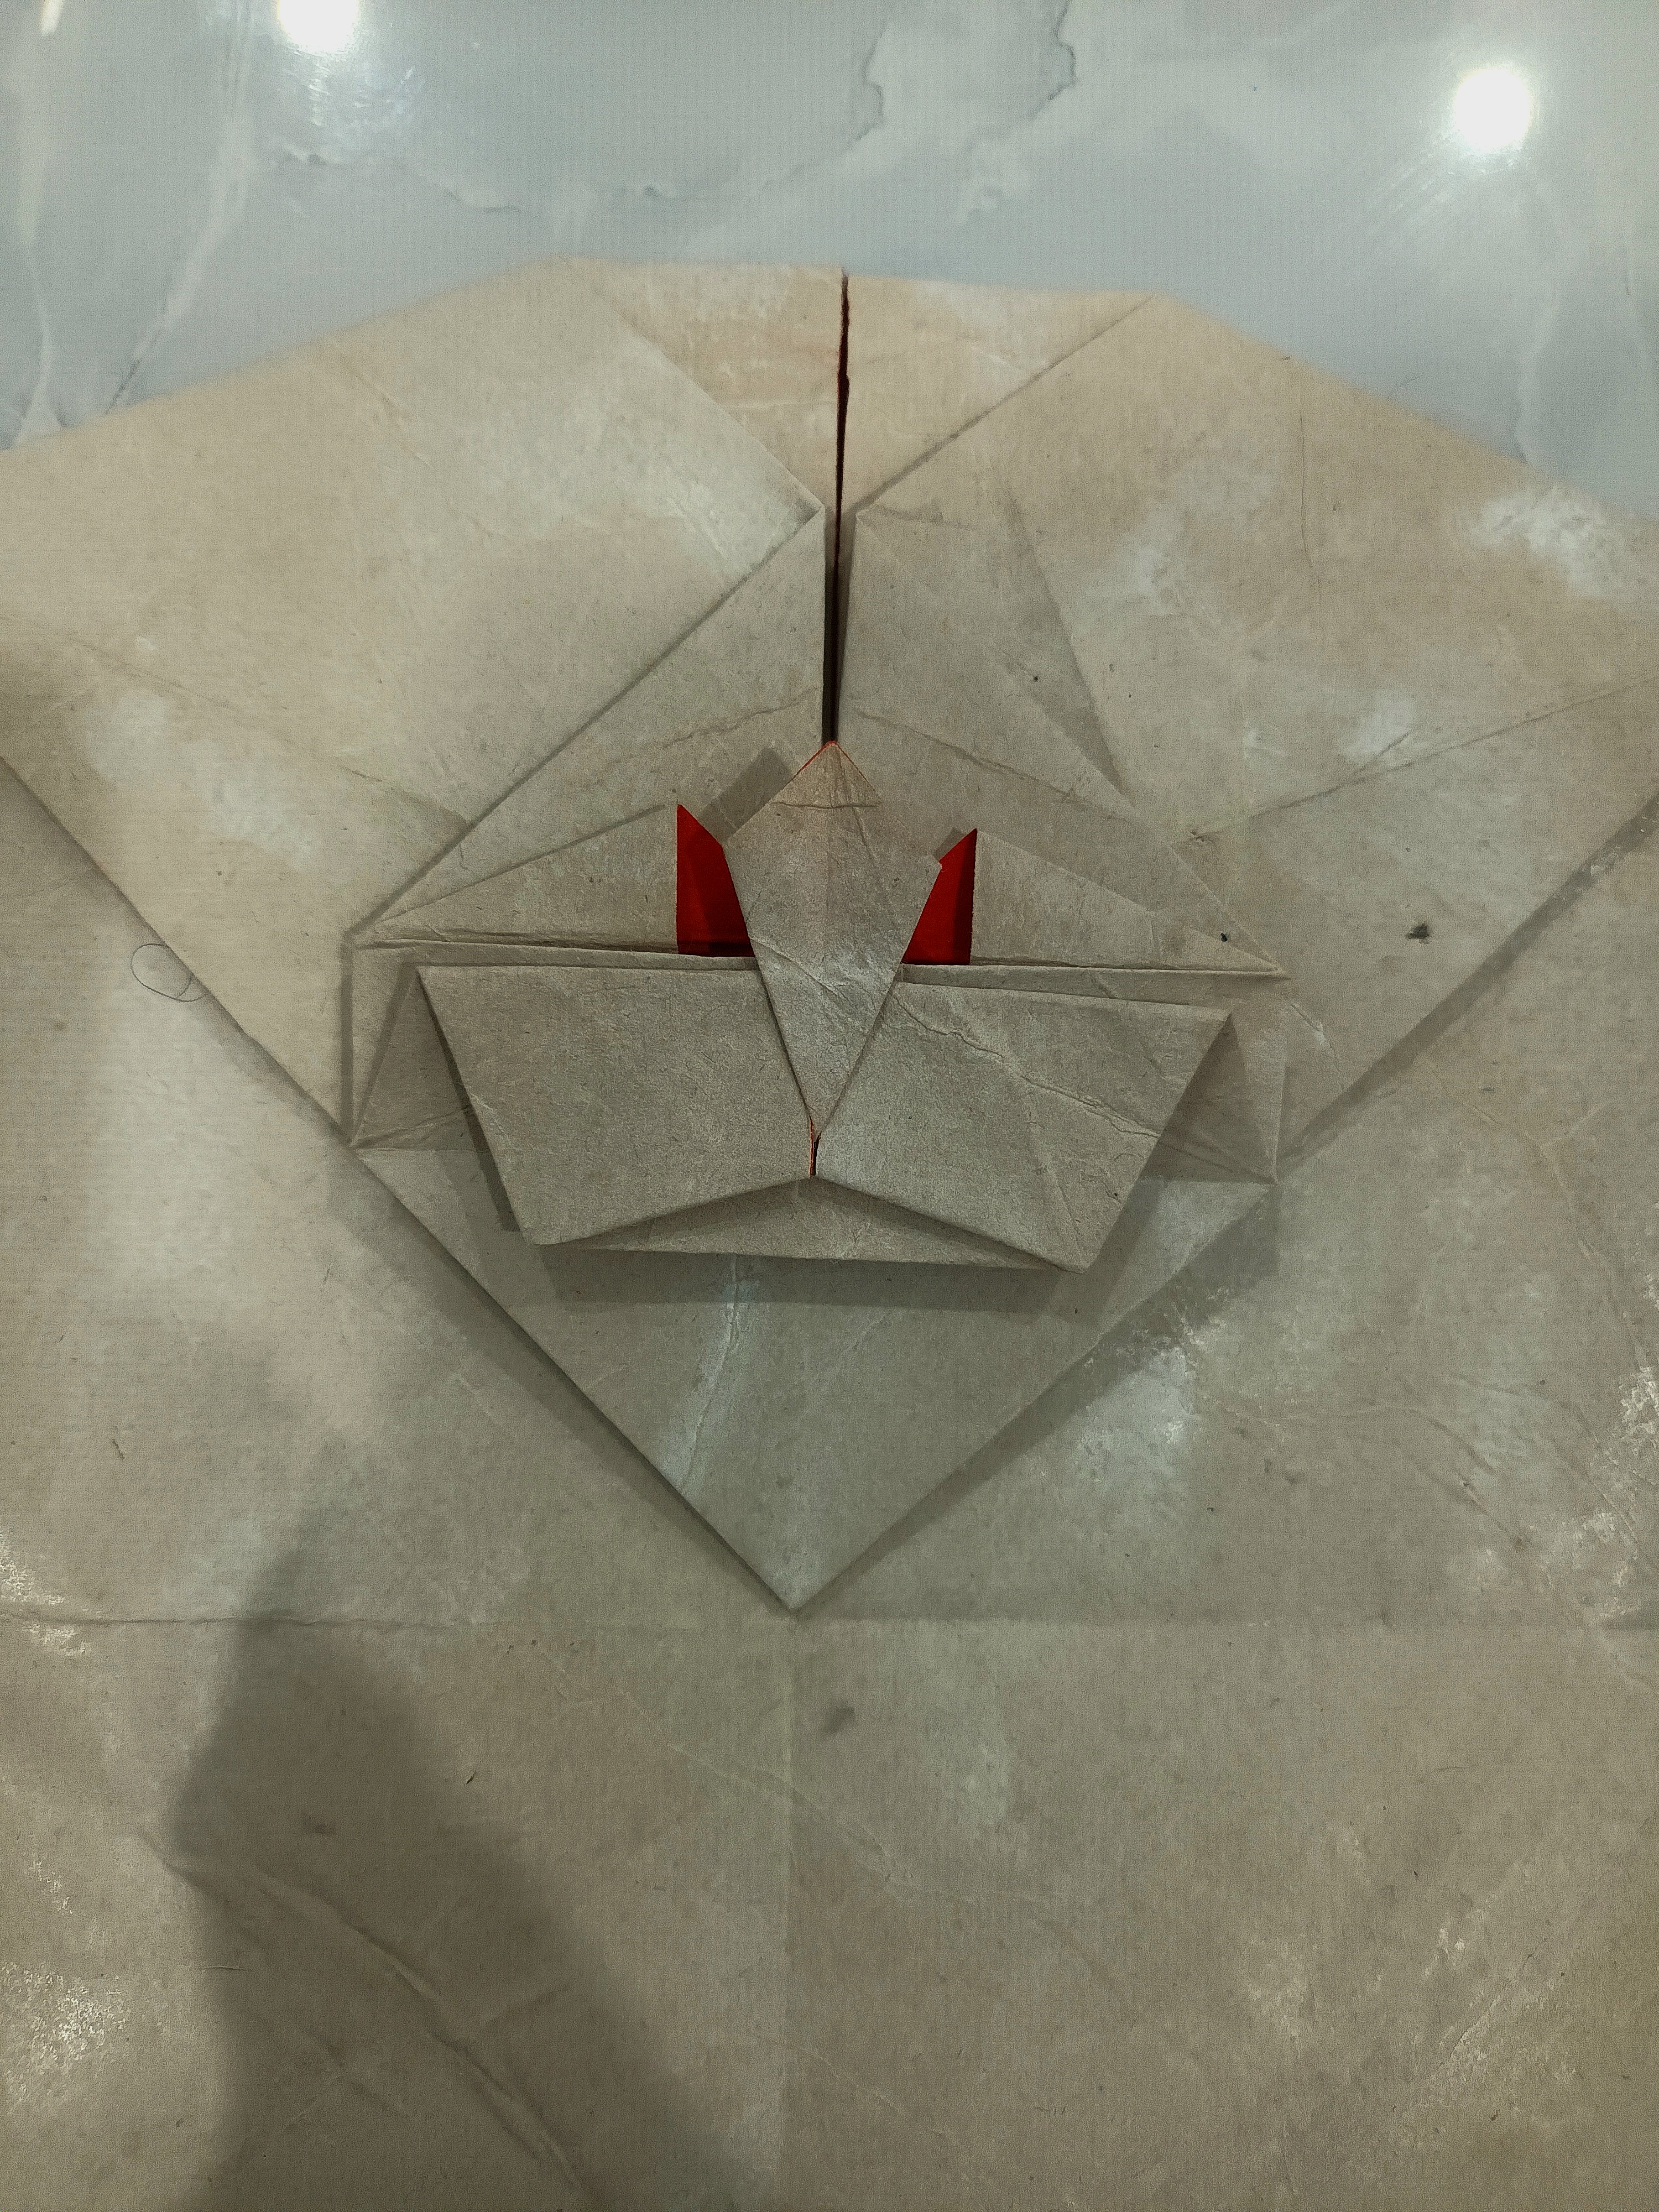
Folding the Model
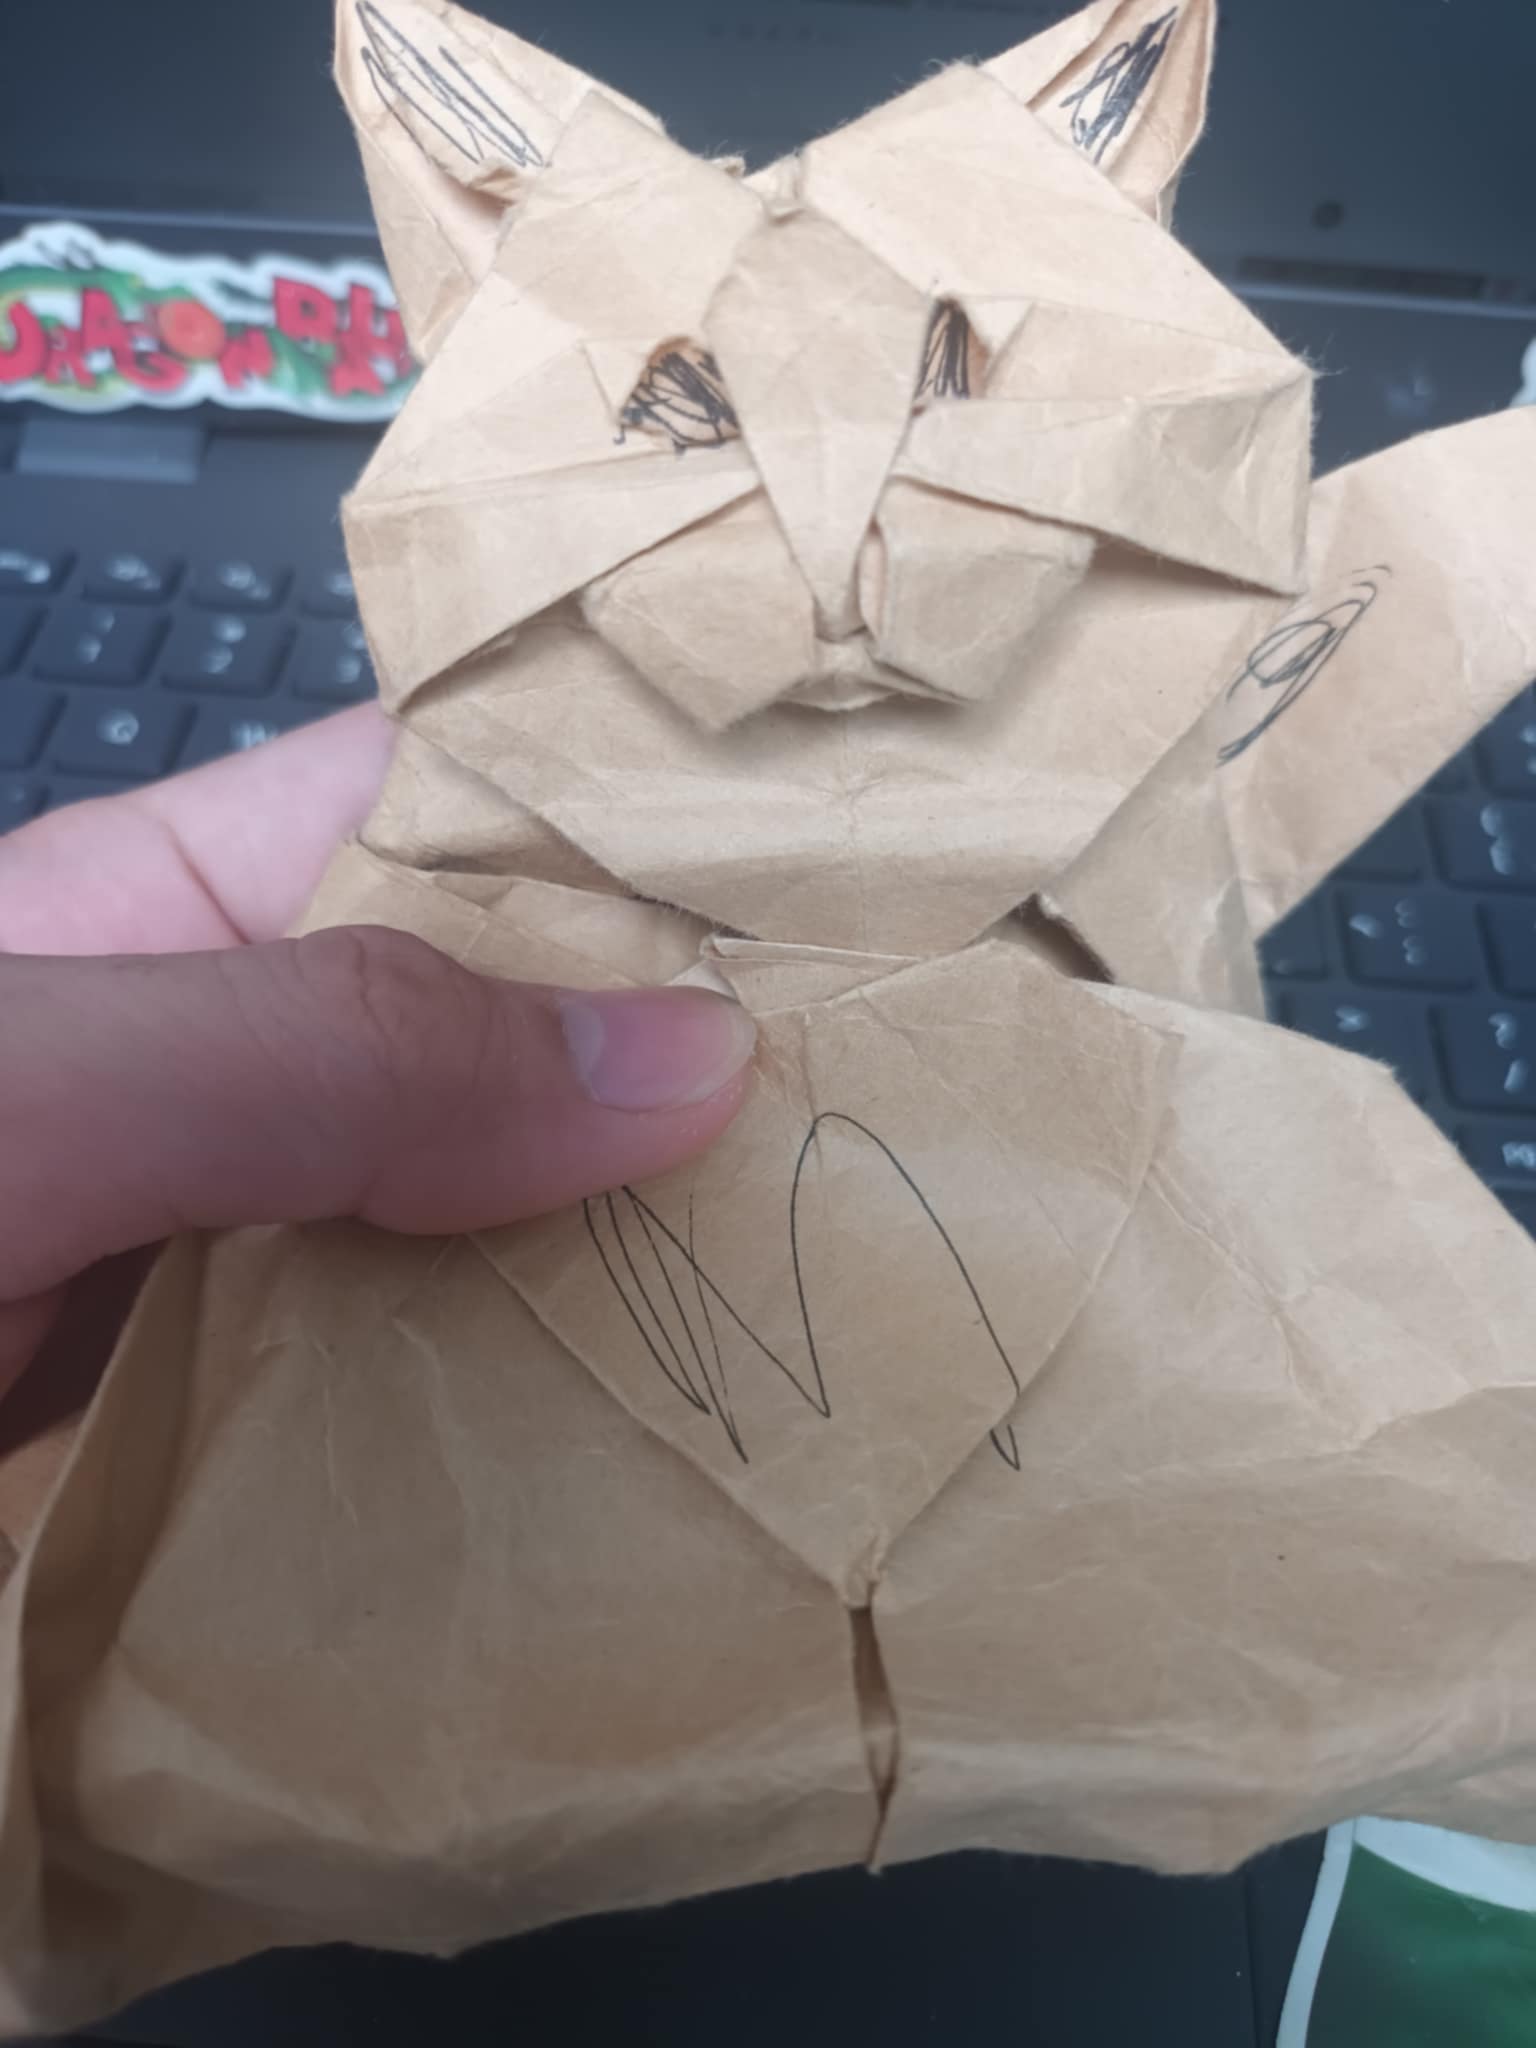
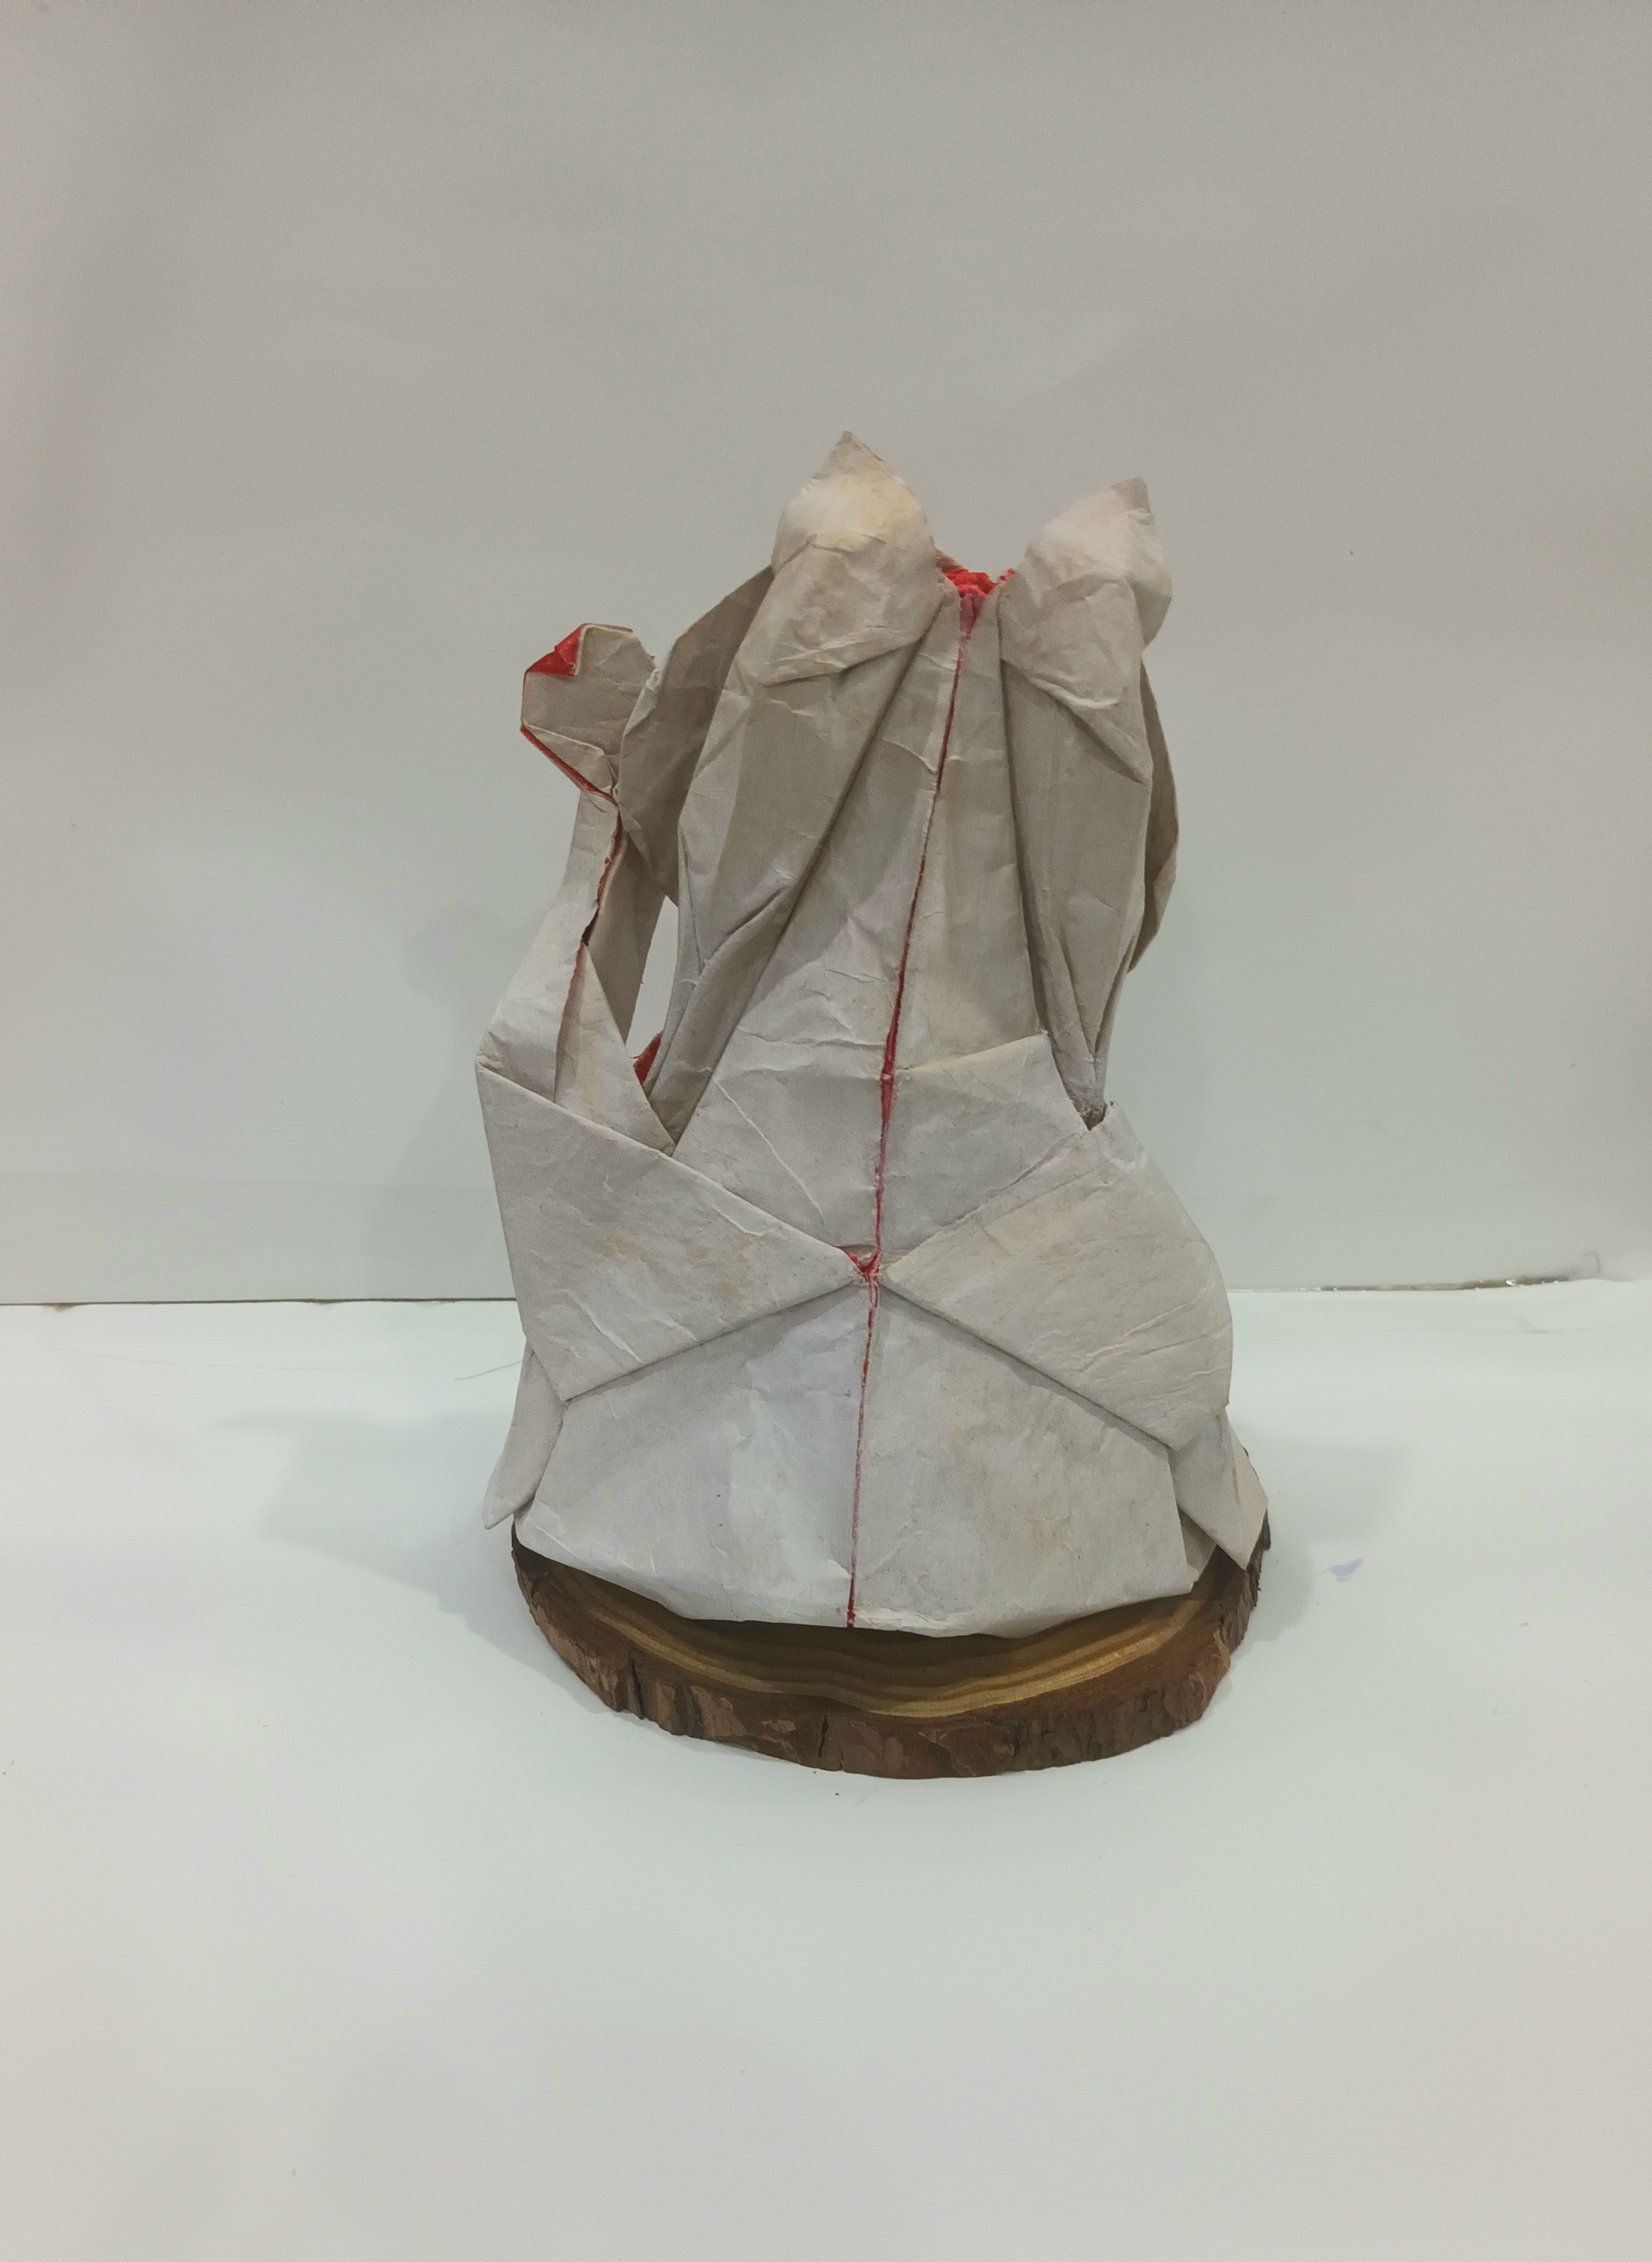
Once the paper was ready, I began folding the model. And here’s the final result:
Final result
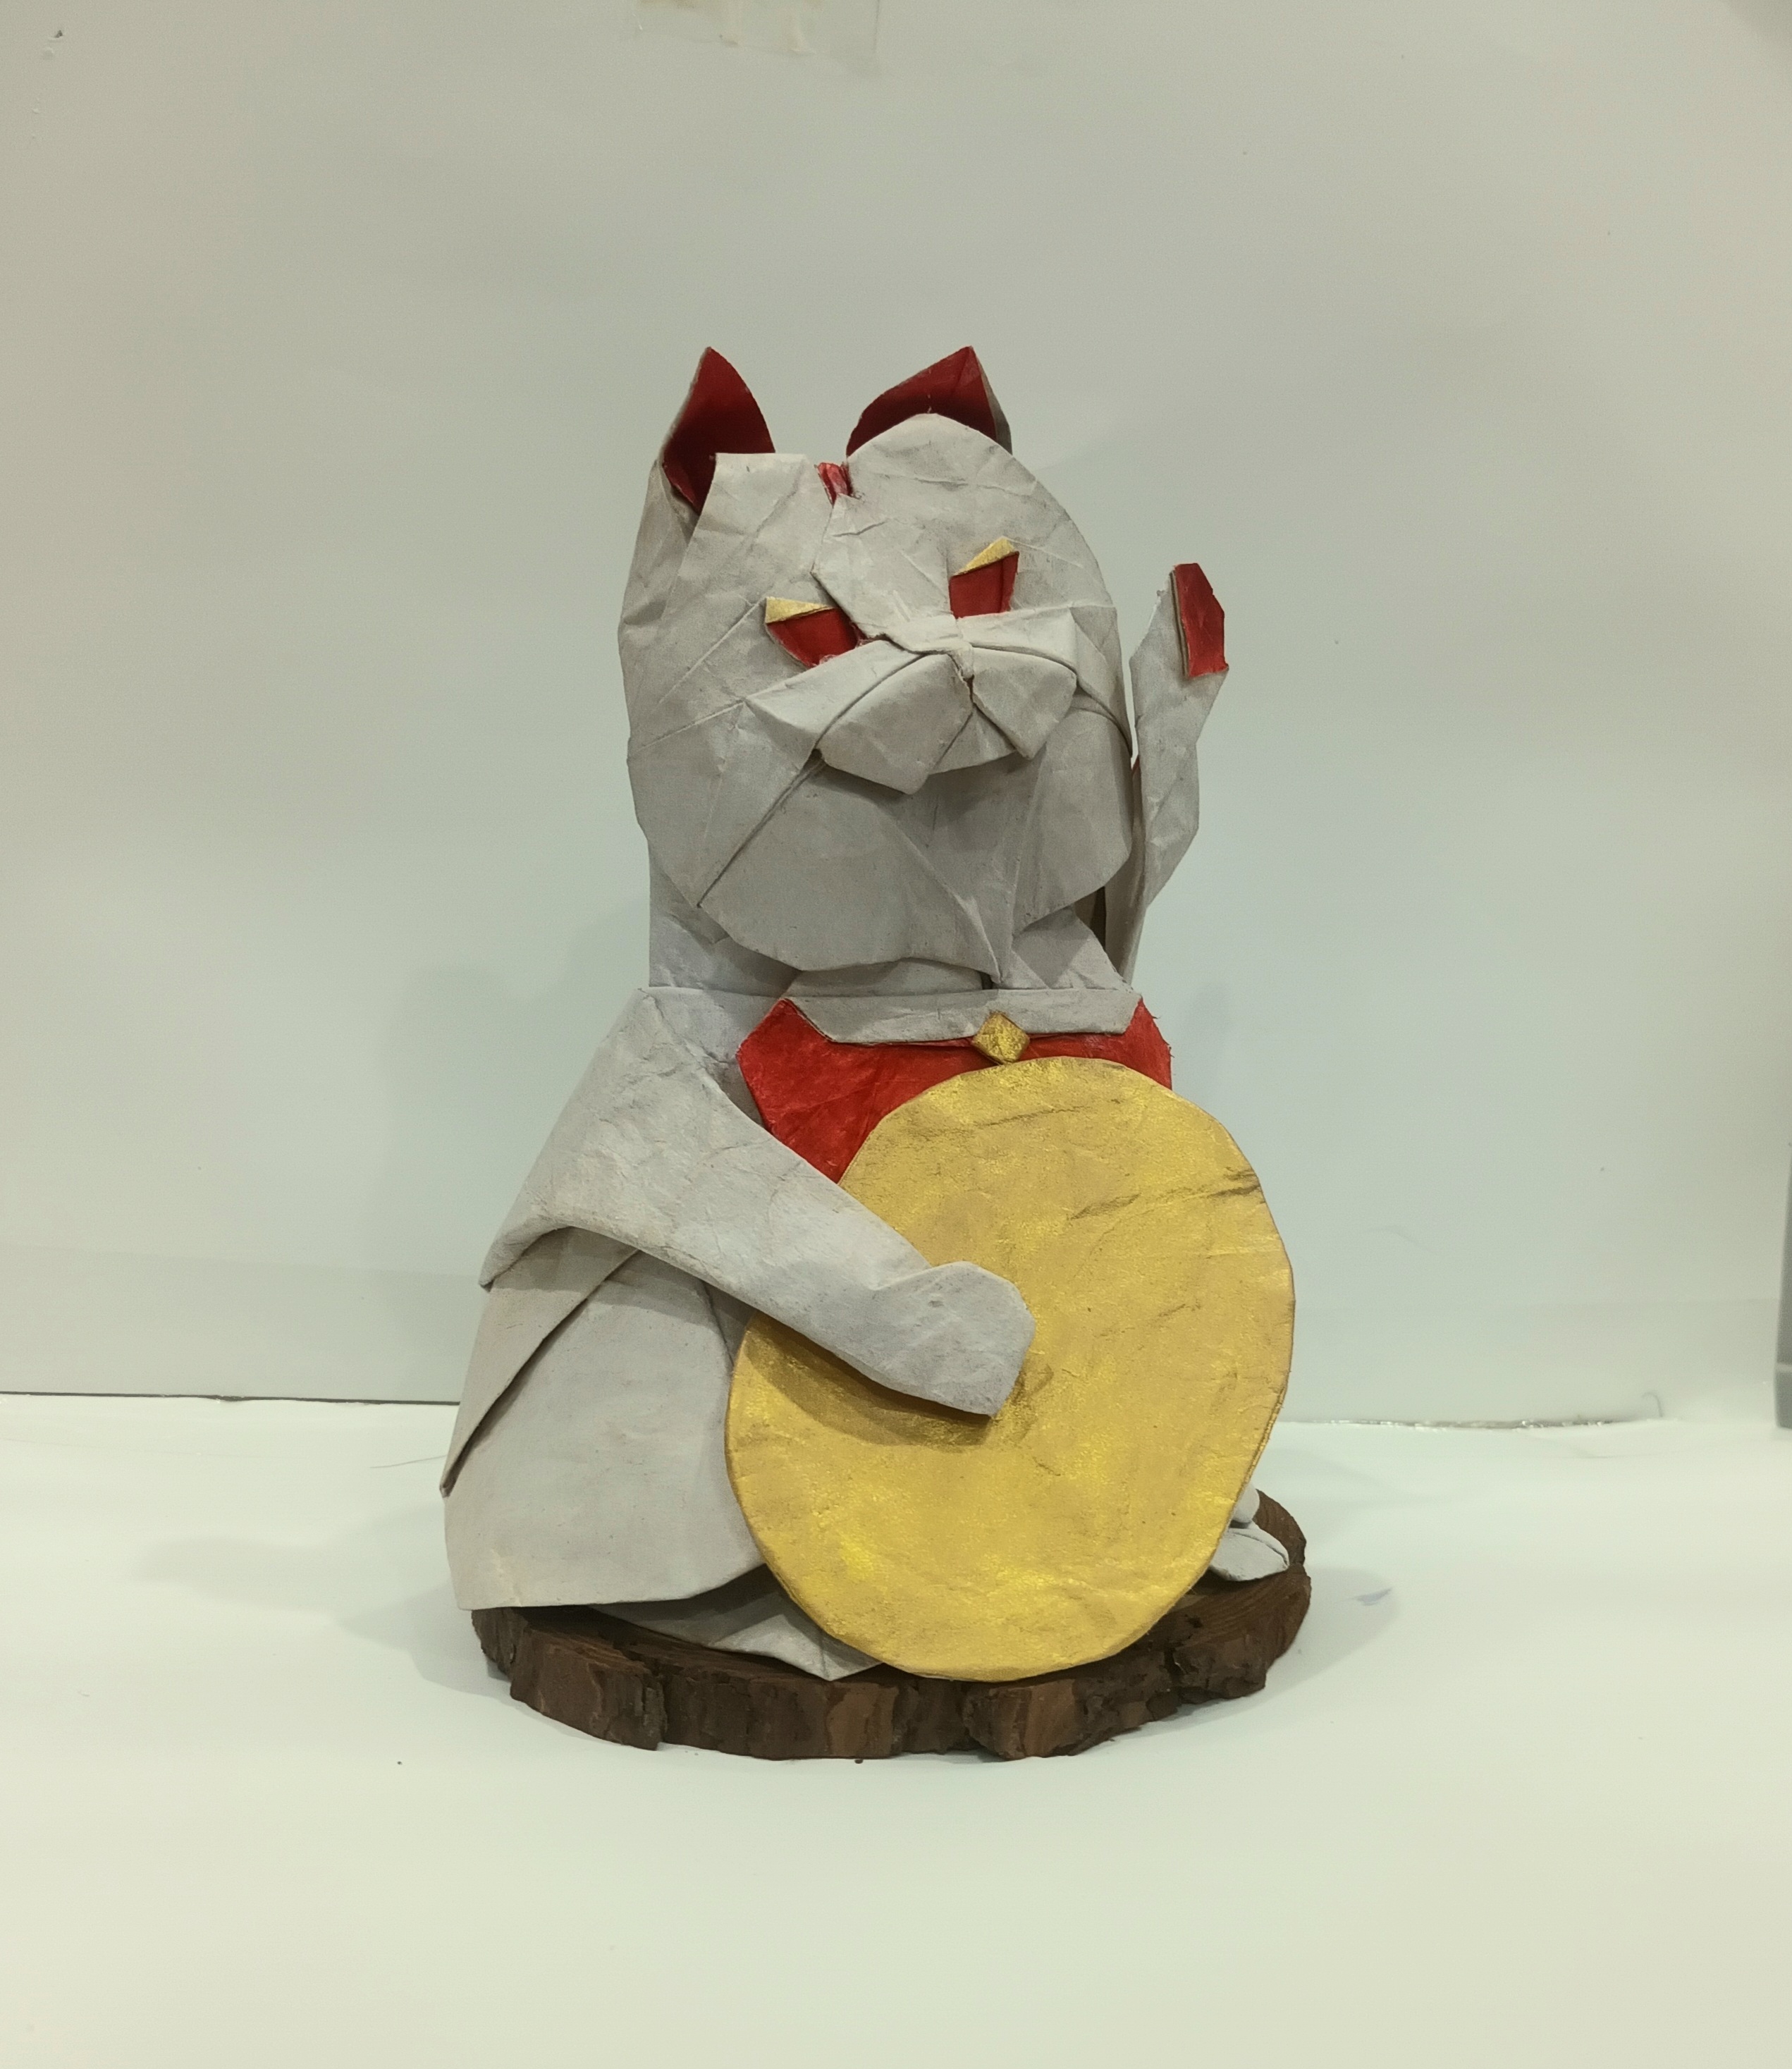
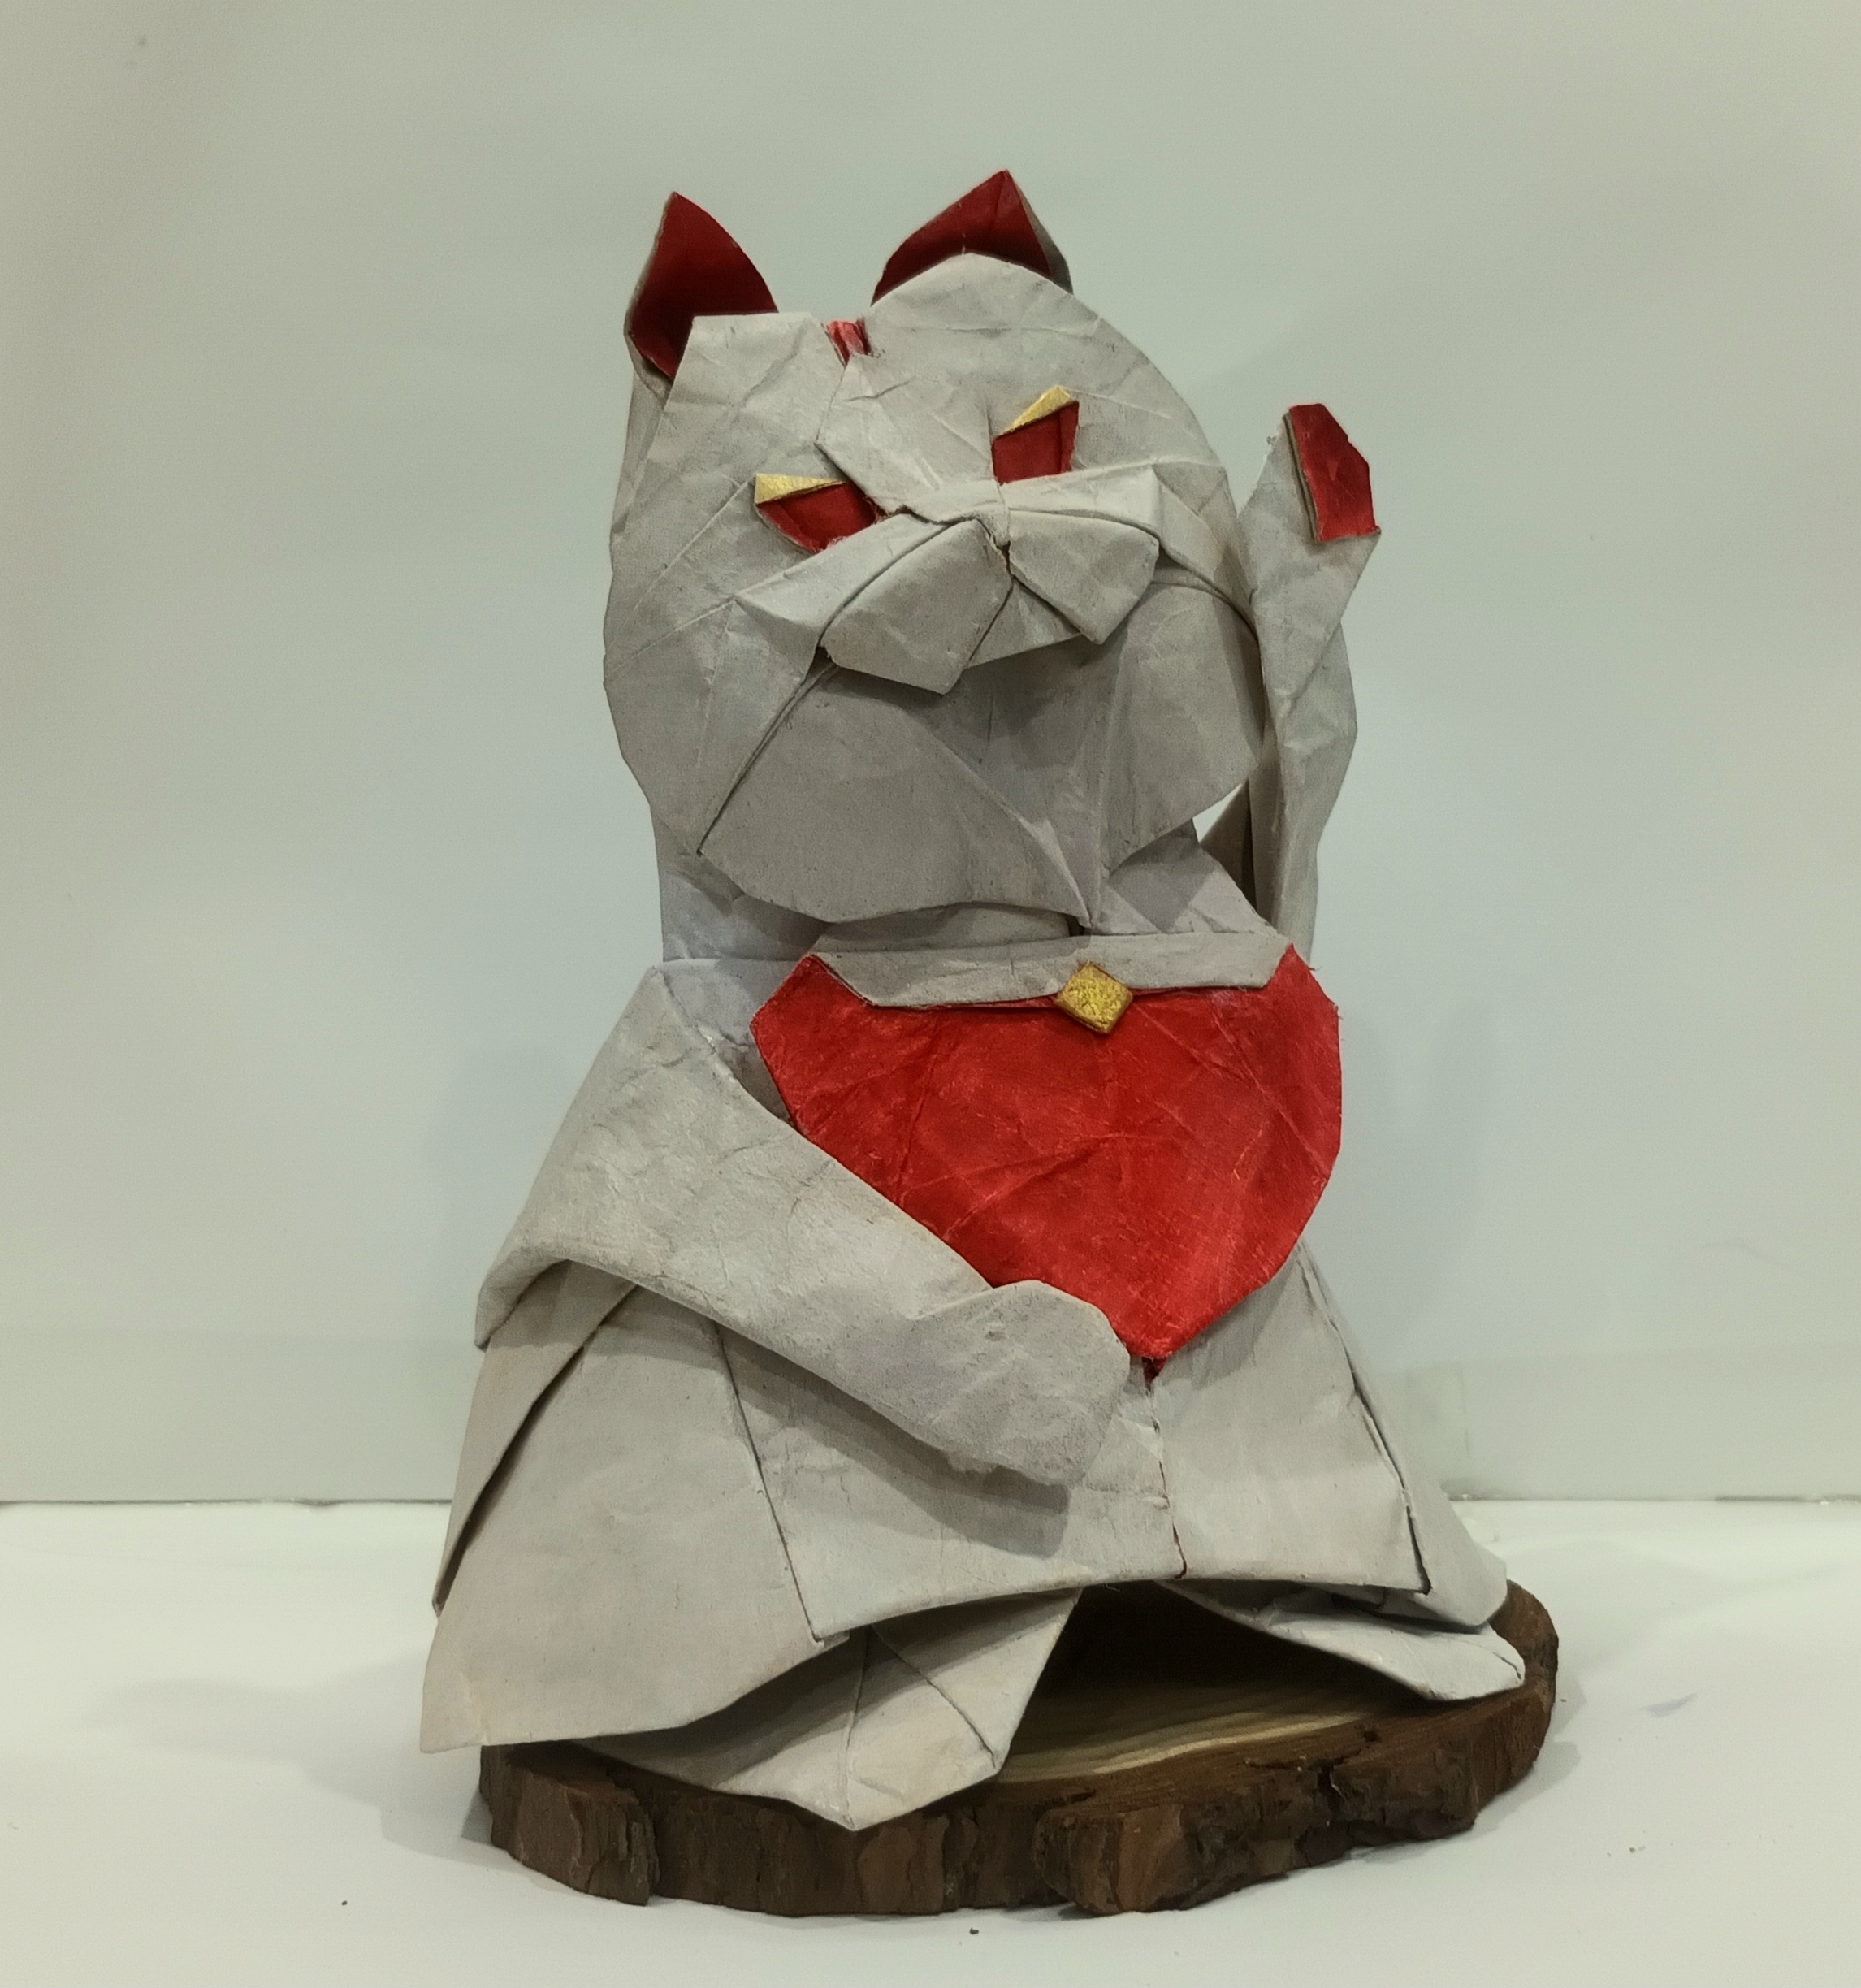
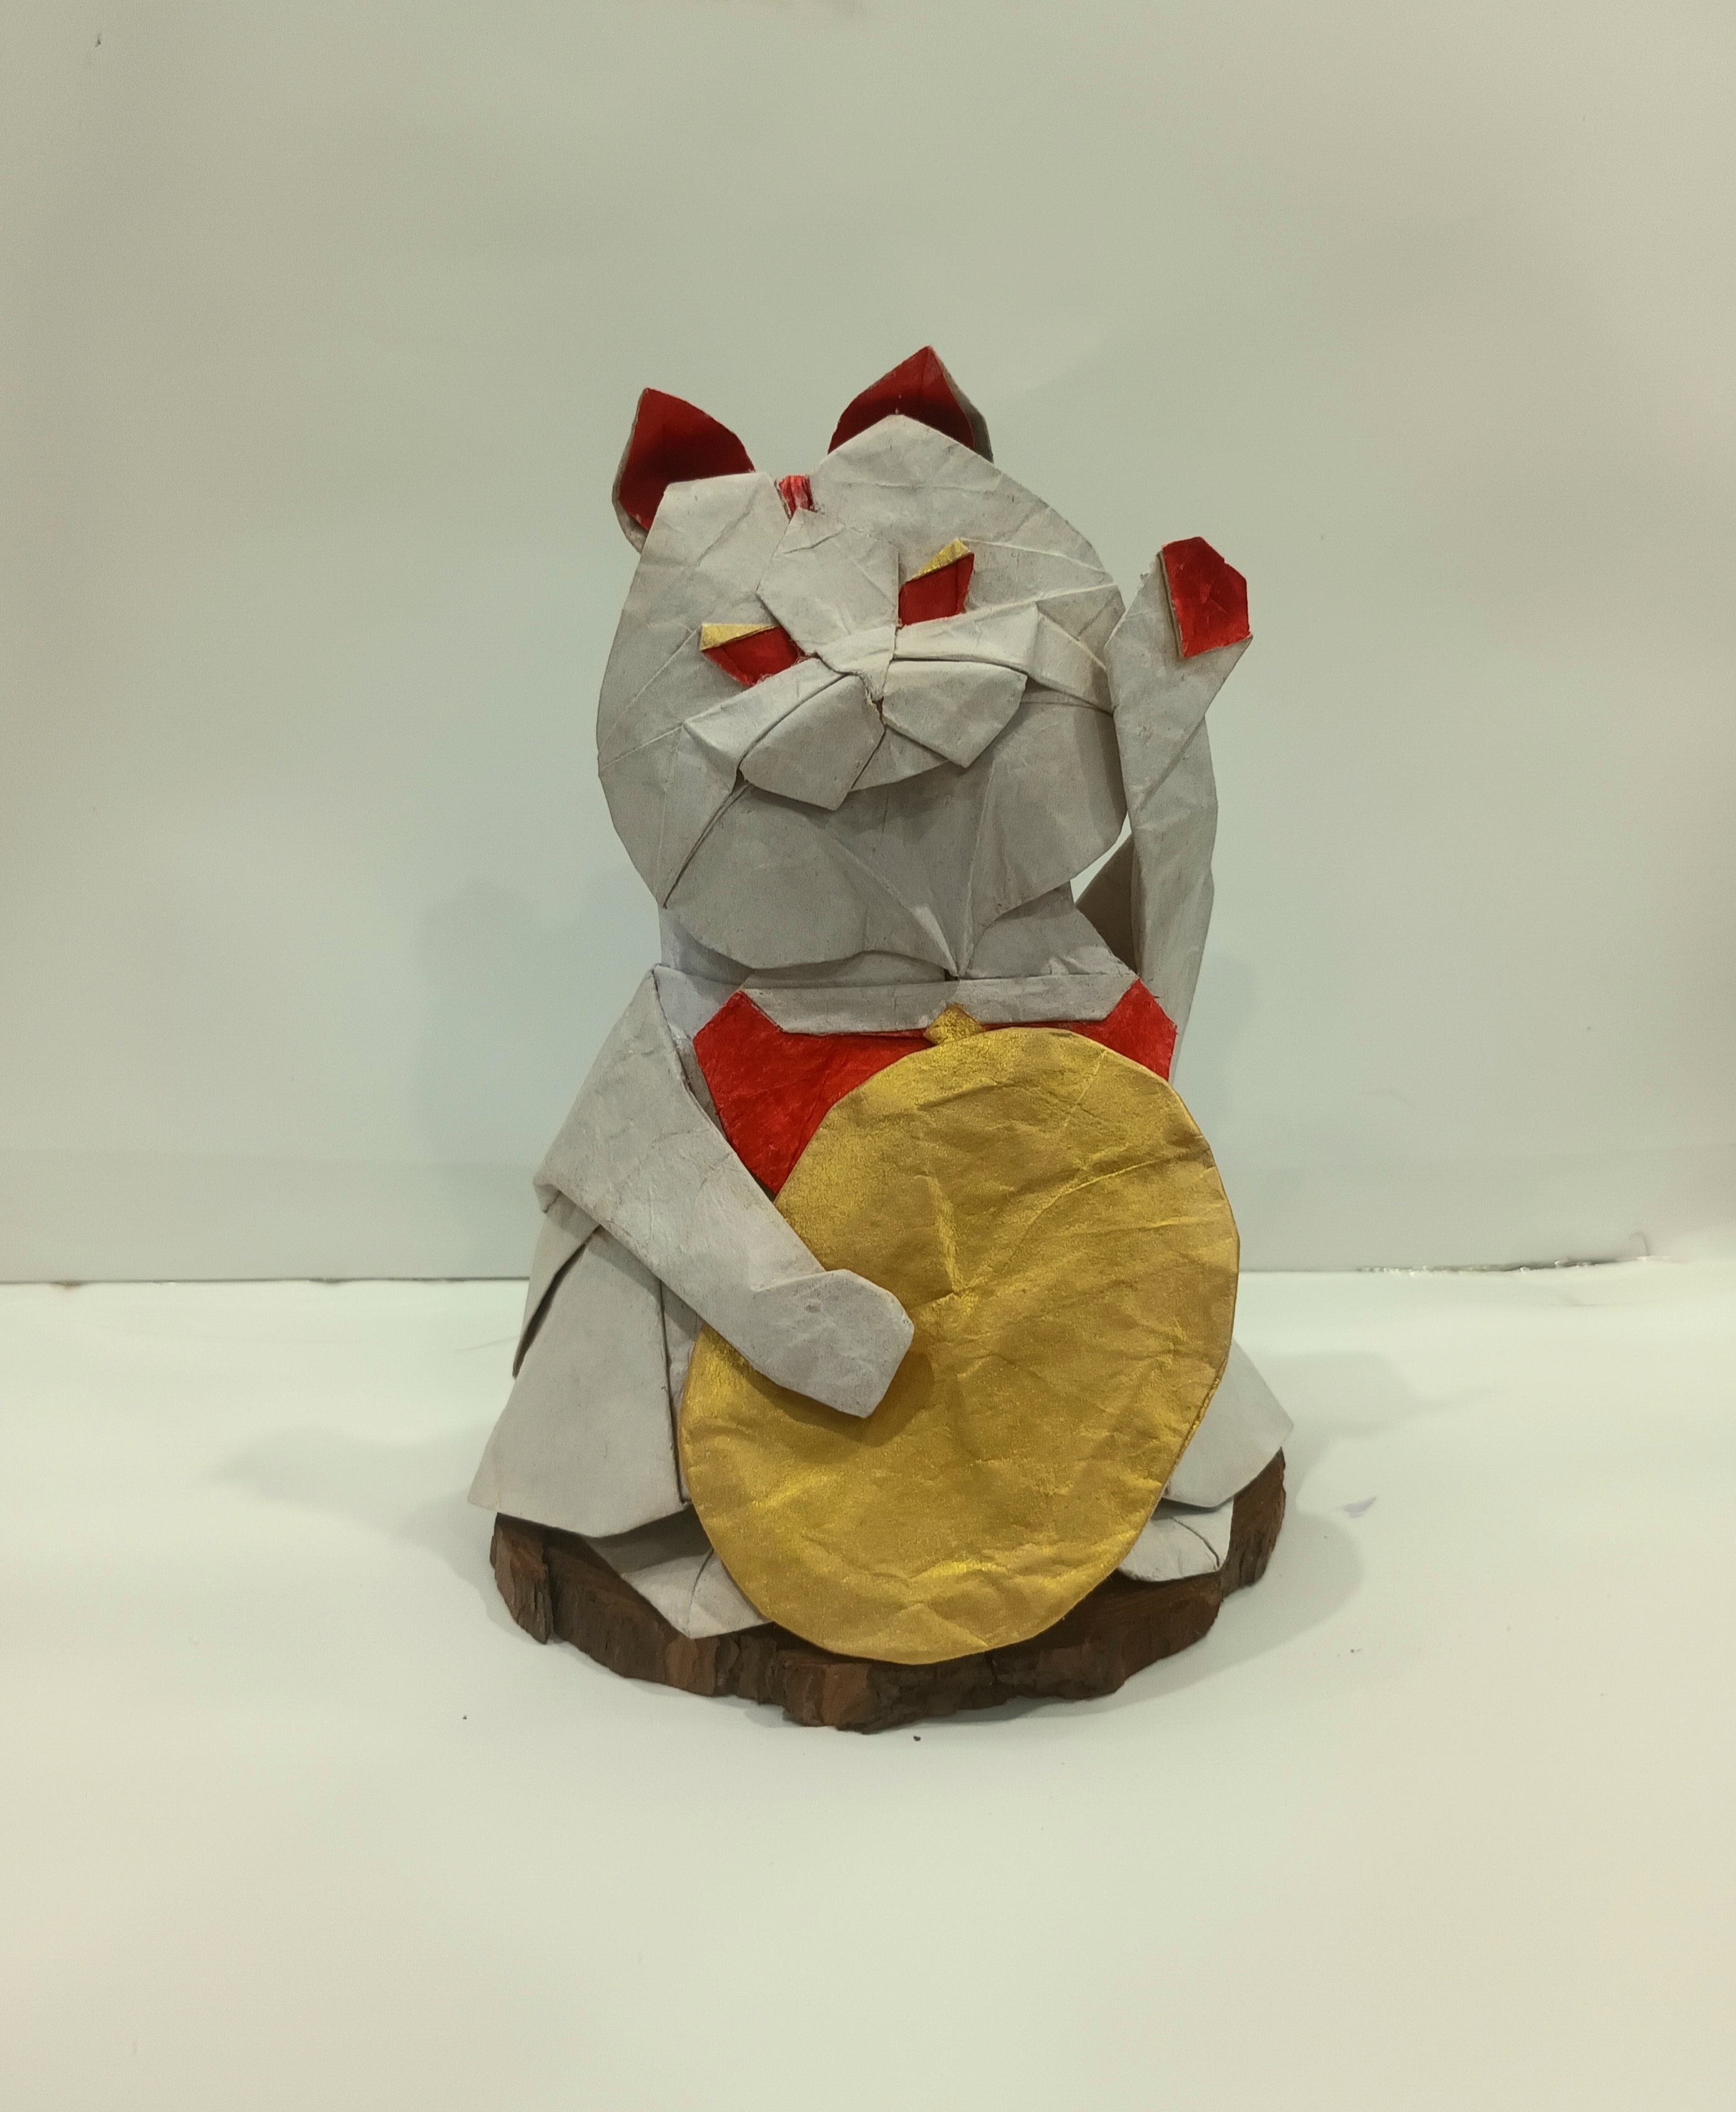
Yeah, not bad, I have add a little gold color in the model to highlight some details, also give my cat a gold coin. I hope my cat will like this.
I hope you enjoyed this journey of creating the lucky cat. Okay, let's stop here, now I have to package the cat and give it to my friend.